Setting up the TWINT integration
The TWINT integration makes it possible to scan the QR code on a QR-bill with a TWINT app. In addition, a link can be added above the payment section to enable TWINT payments in the browser. This is particularly helpful if the user opens the QR-bill PDF on the mobile device and is therefore unable to scan it with the TWINT app.
The following is required for the TWINT integration:
- Free account for the TWINT portal: https://portal.twint.ch
- Valid QR-Bill for WooCommerce plugin license.
1. Settings in the TWINT-Portal
Log into your account in the TWINT portal at https://portal.twint.ch.
Two stores can be added to the portal for the integration of TWINT:
- A store for payments by scanning the QR code.
- A store for payment via link on the QR-bill (optional).
1.1 Store for payments by scanning the QR code
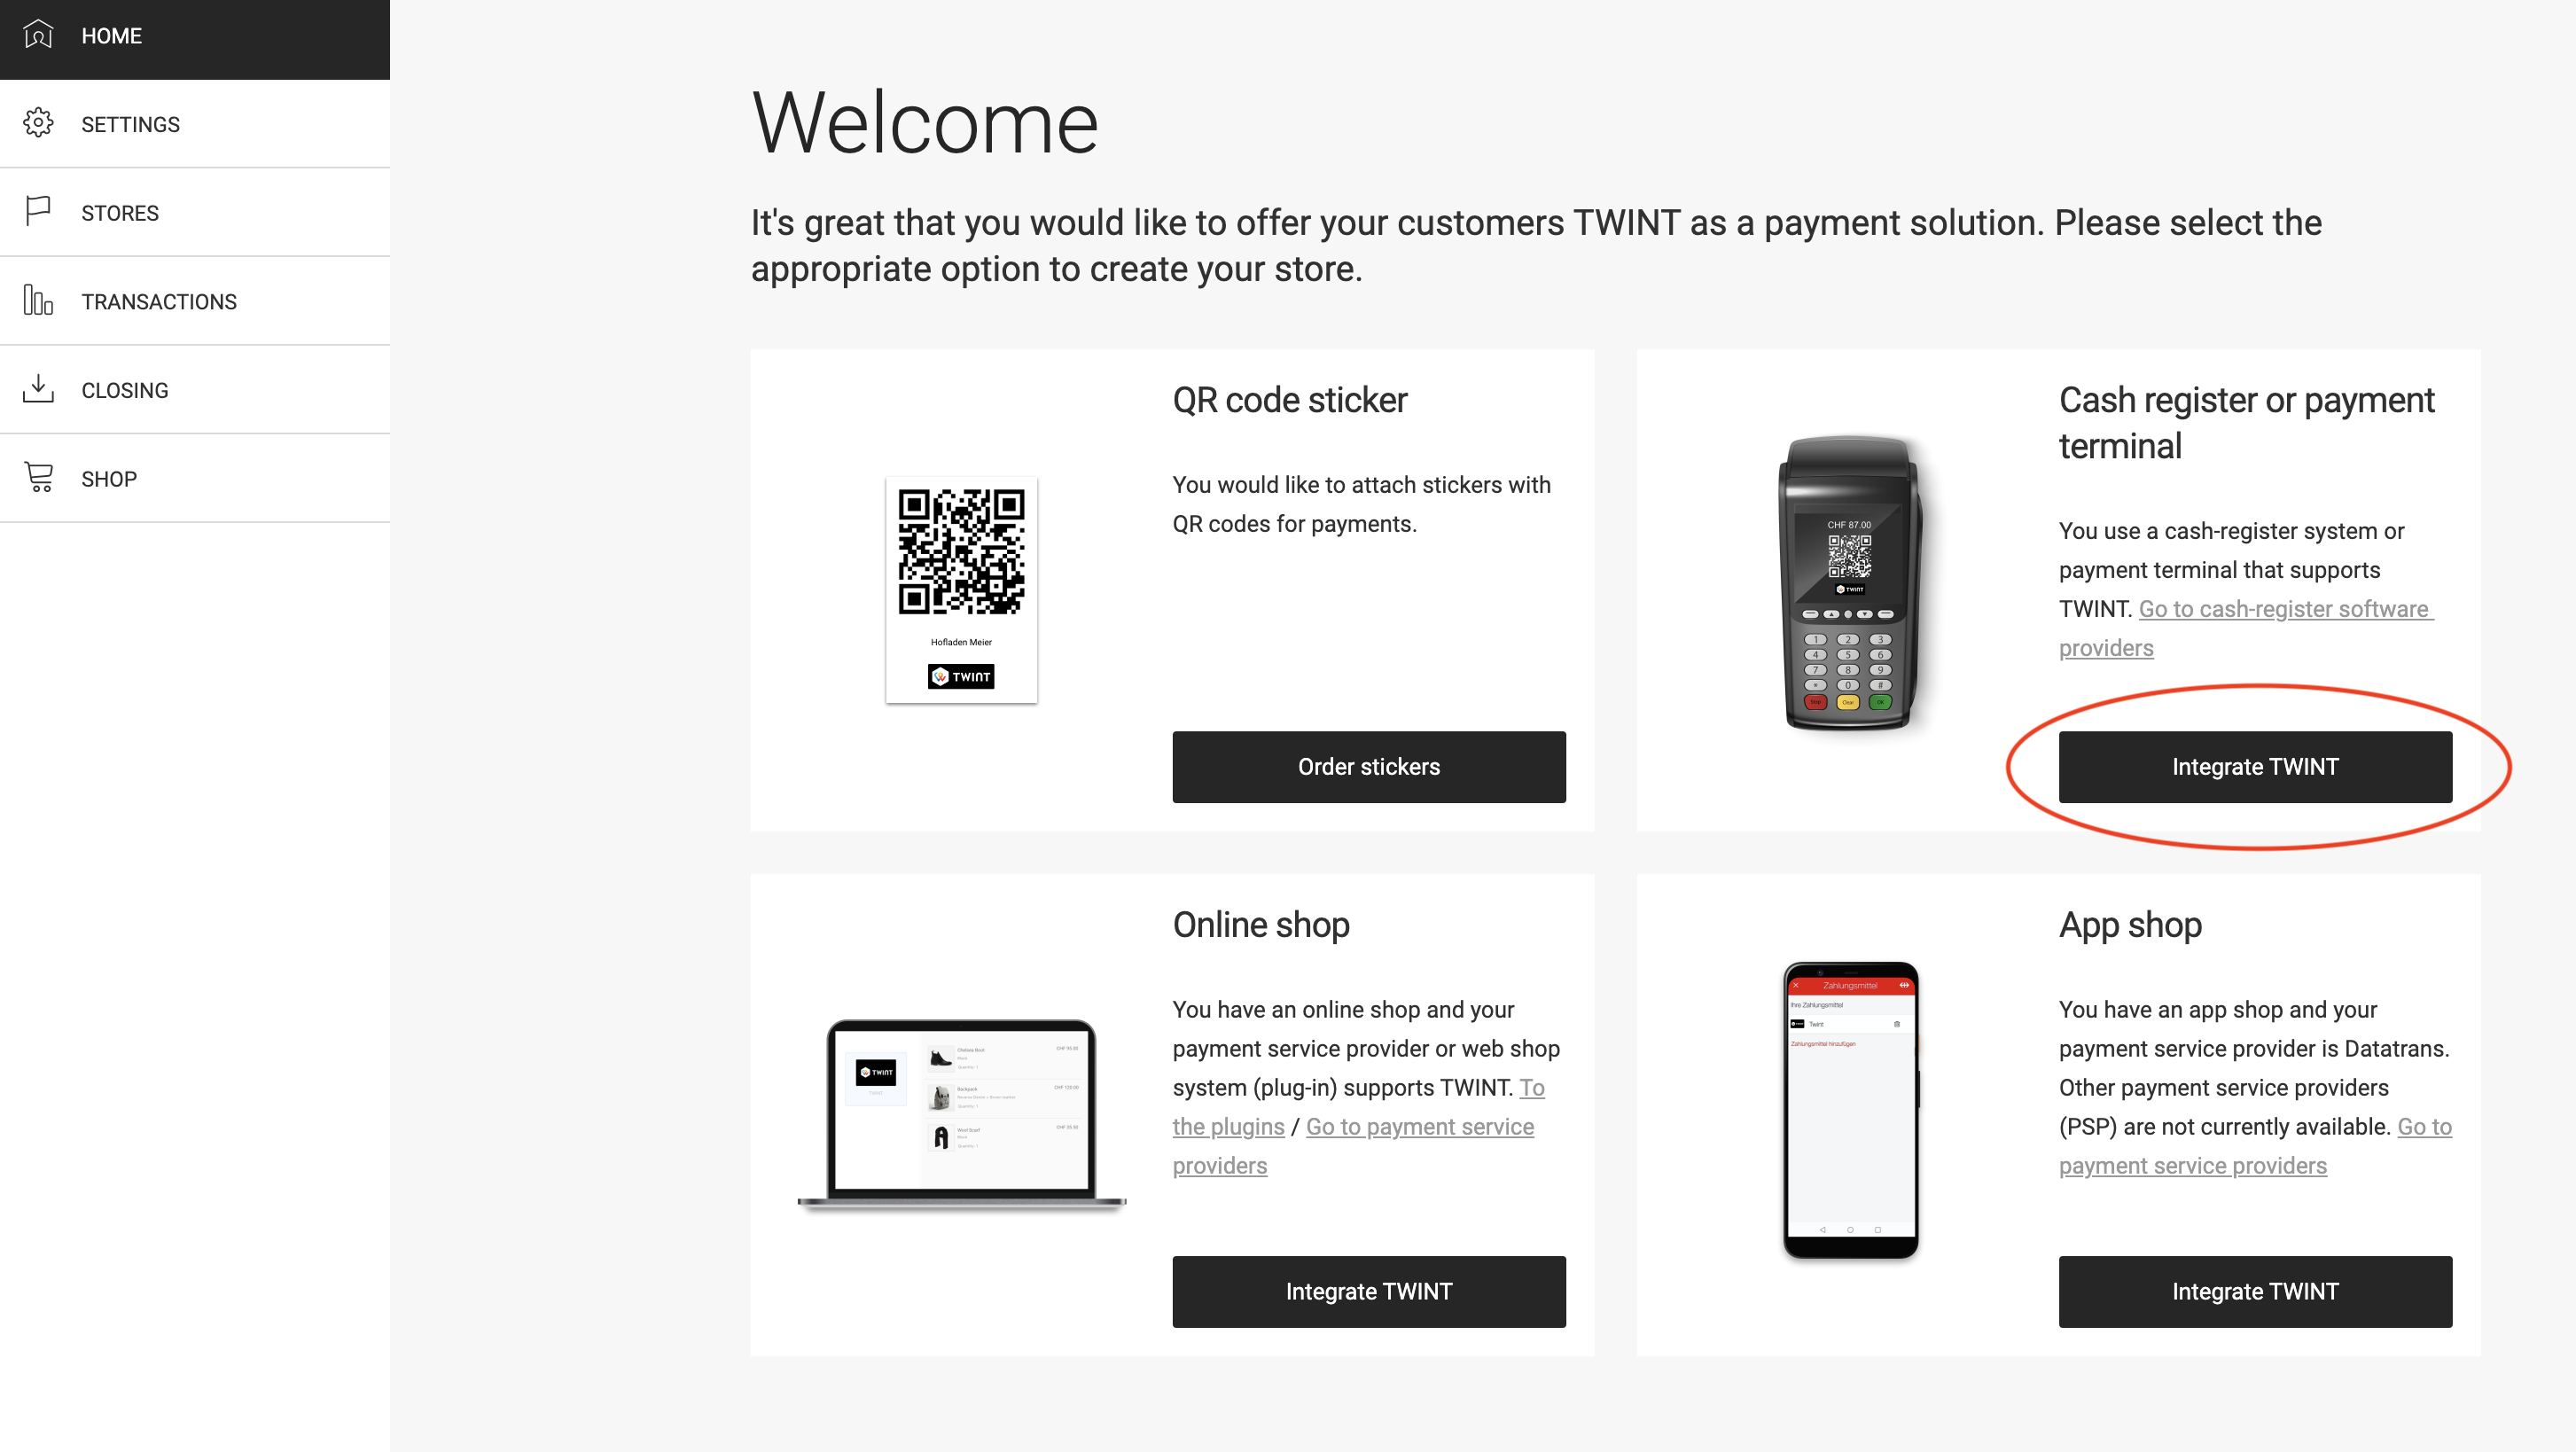
Click on the “Integrate TWINT” button under “Cash register or payment terminal” on the home screen.
Important: Do not select “Online shop” for this store.
On the next screen (Basic Information), provide all the required information about your online shop and click “Next”.
In the next screen (connection), “mame” must be selected under “Manufacturer” and “Sales and Support”.
After the store is added, the Store UUID is displayed. The Store UUID is needed in step 2.
1.2 Store for payment via link on the QR-bill (optional)
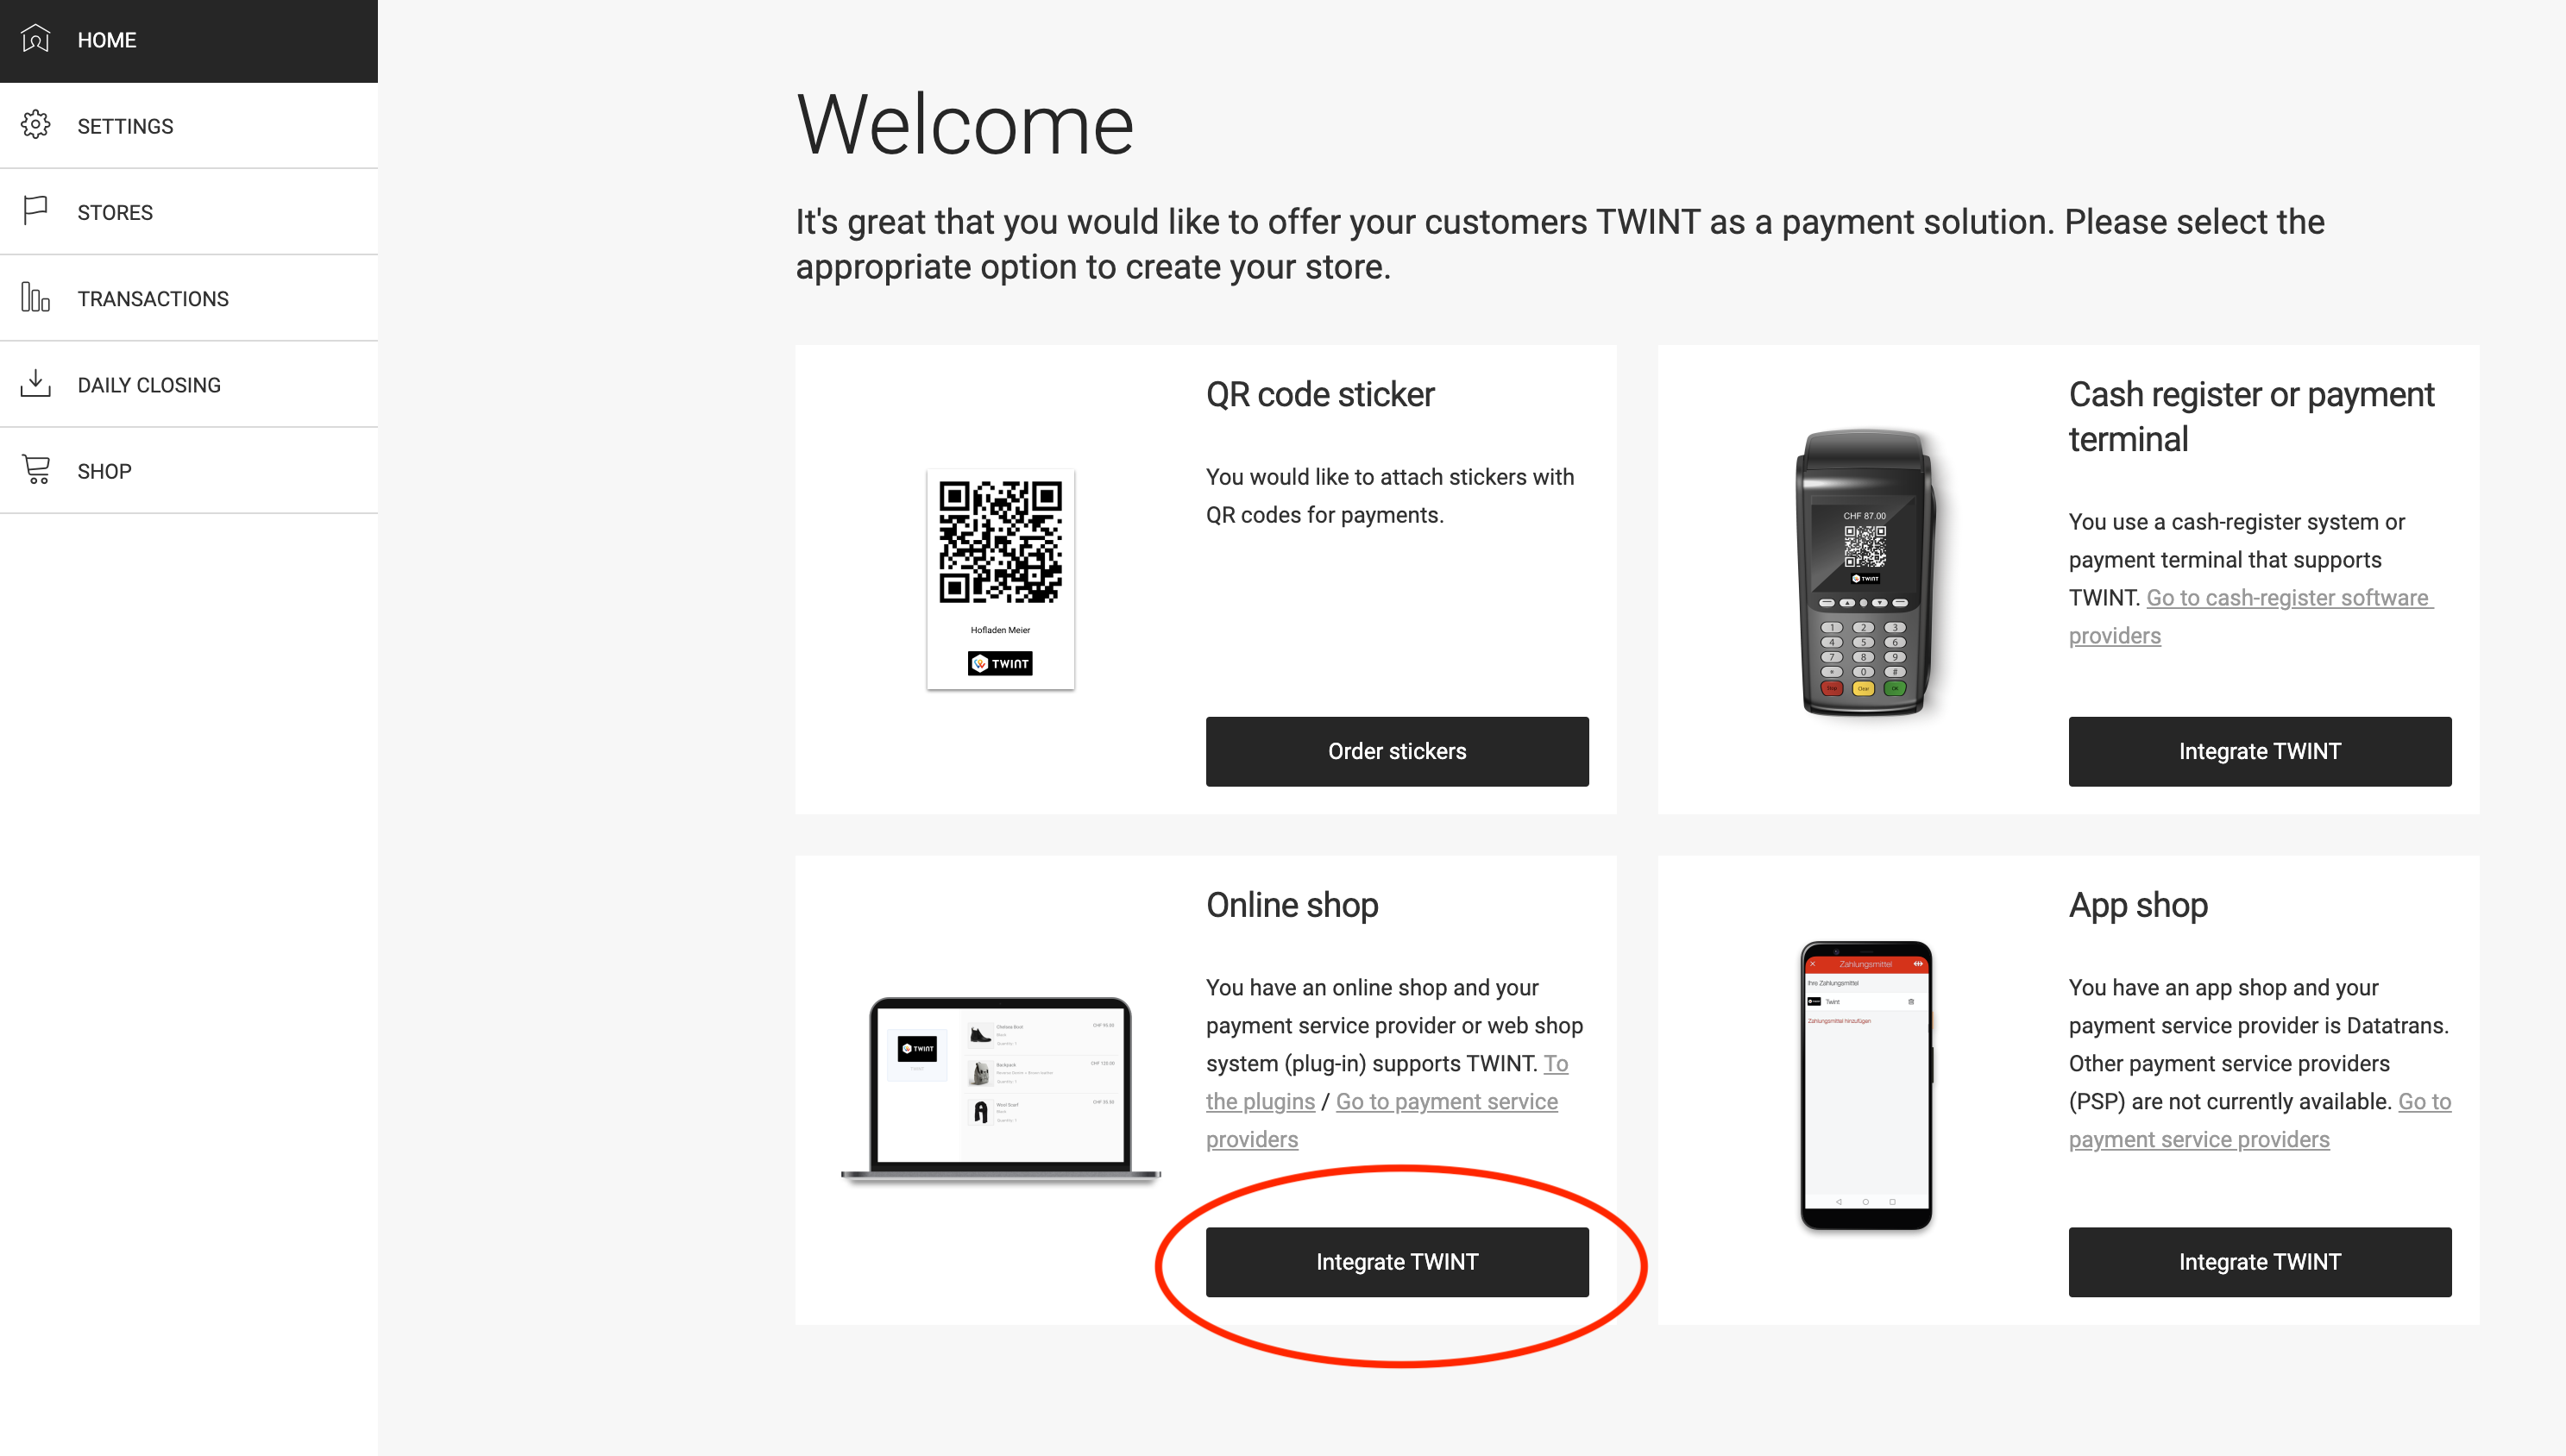
Click on the “Integrate TWINT” button under “Online shop” on the home screen.
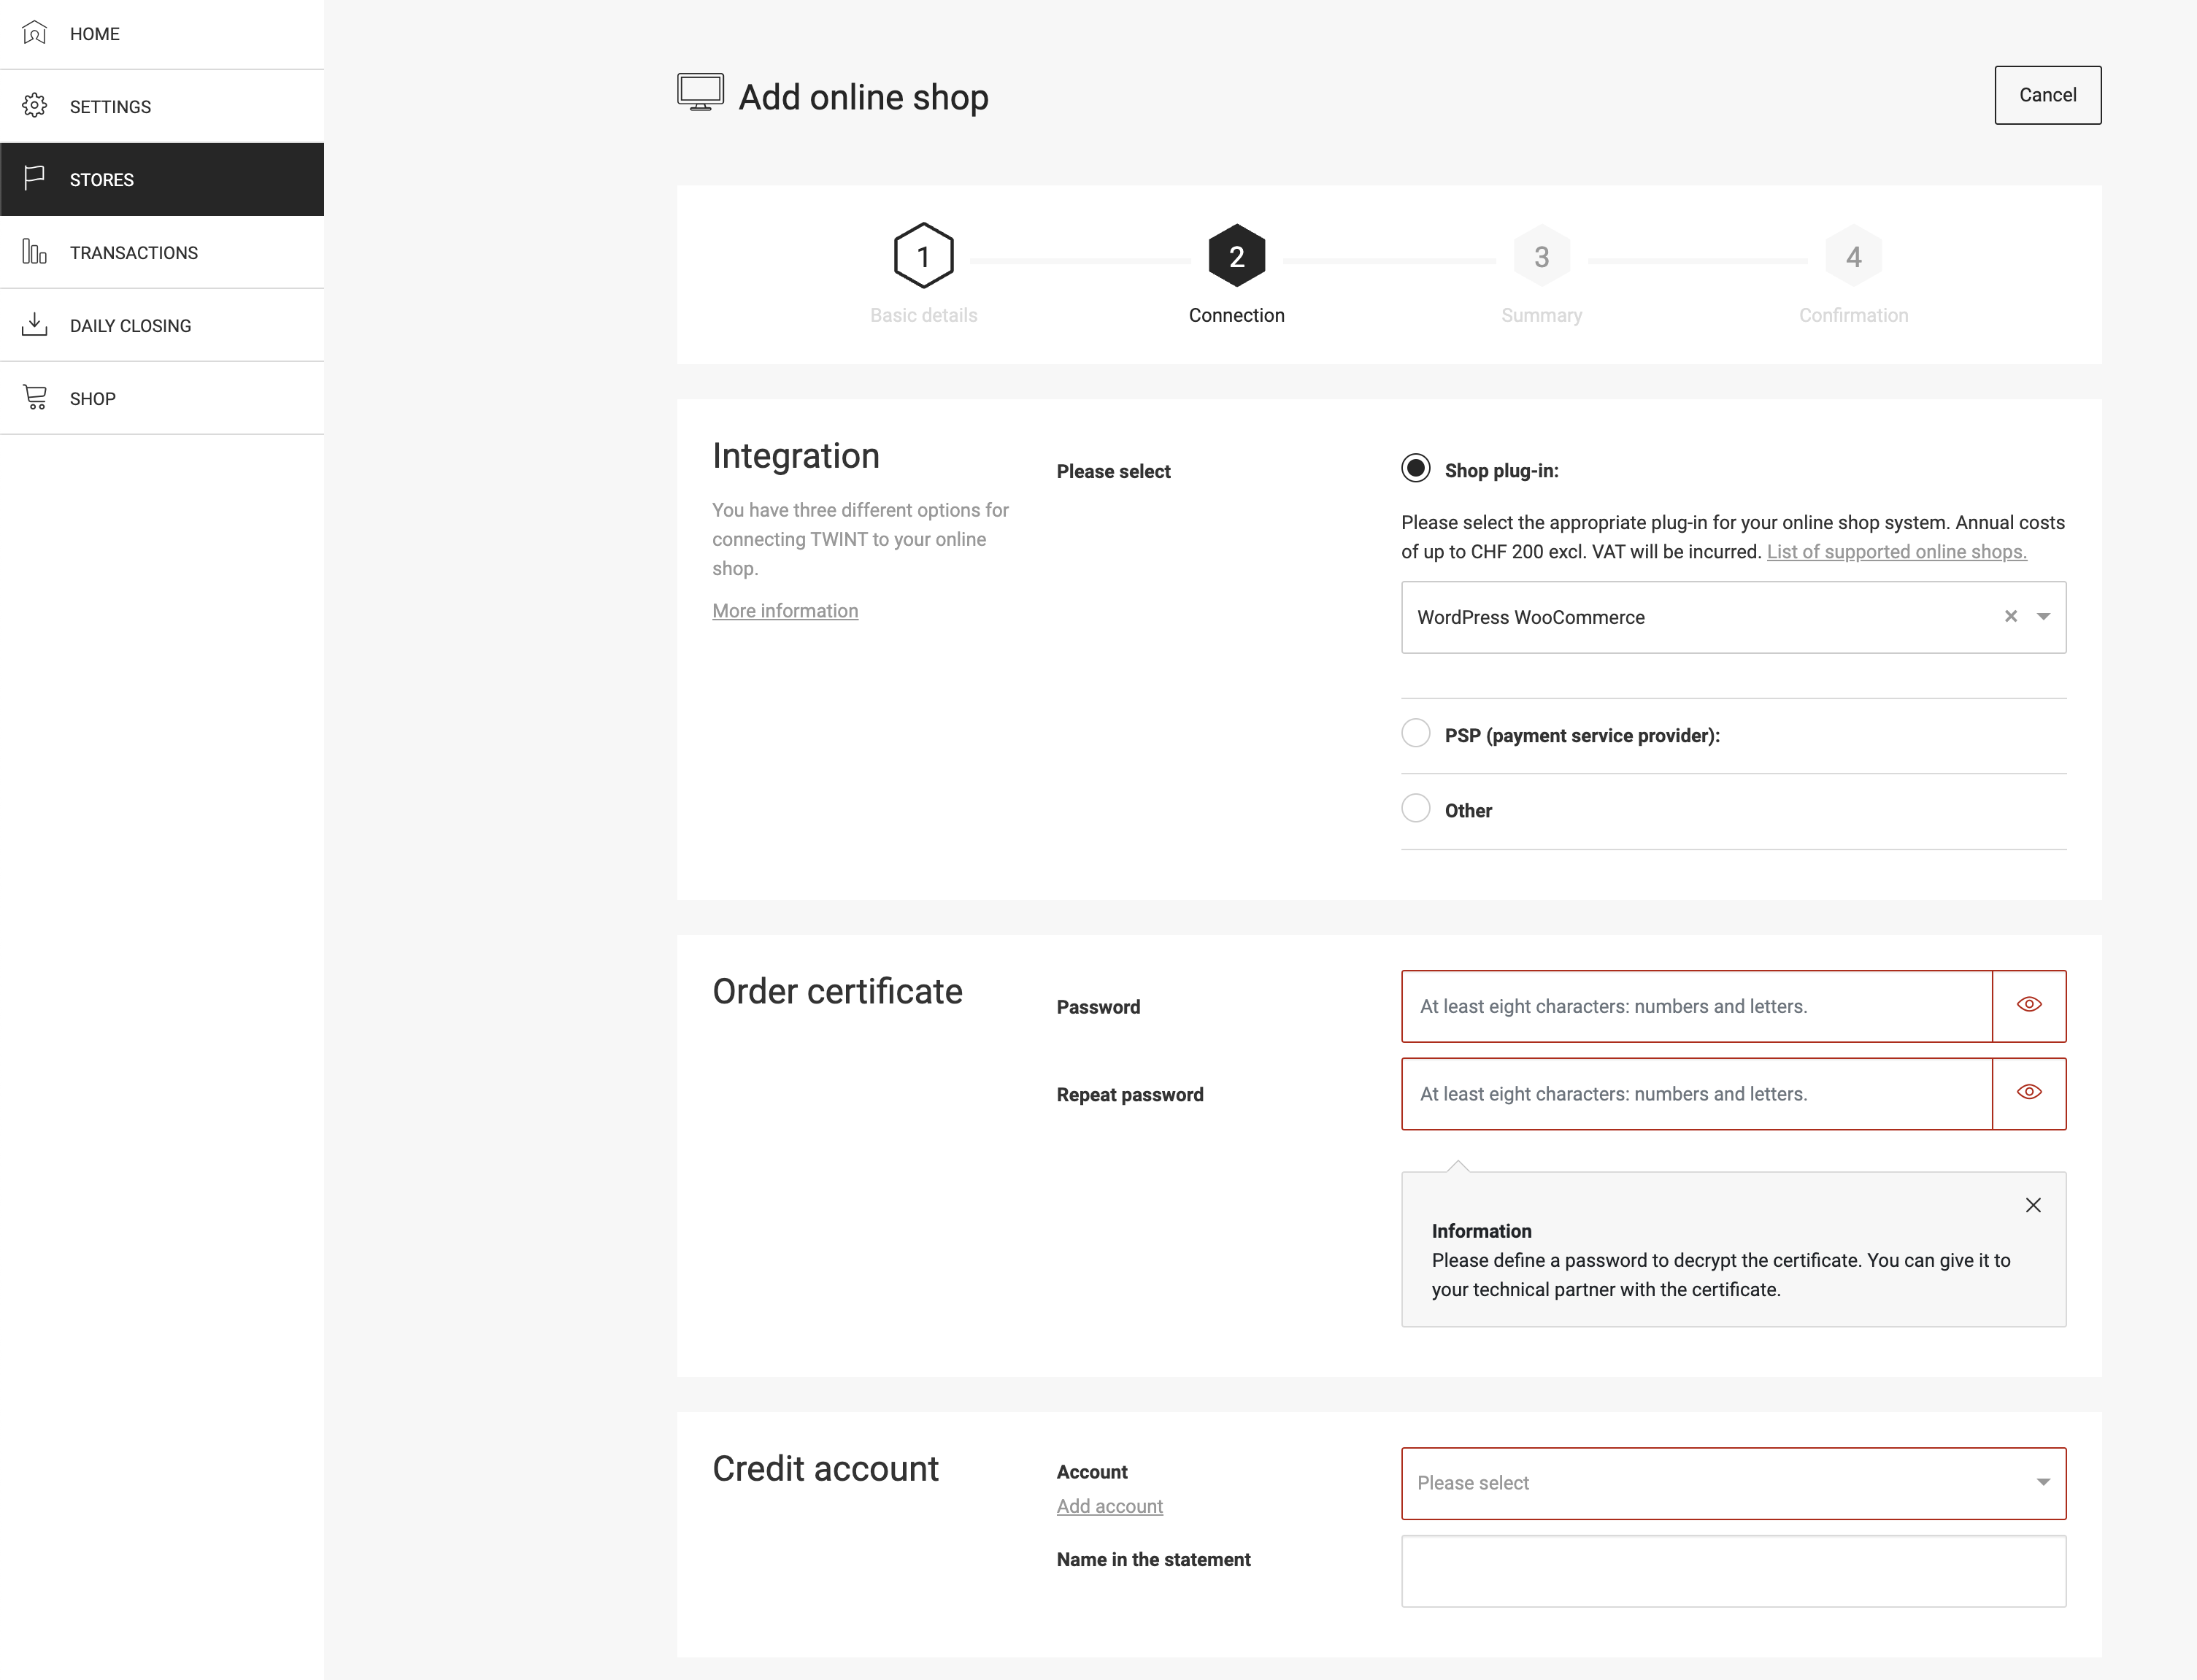
Fill in the basic information and in the second step (connection) select the integration “Shop plug-in” and “WordPress WooCommerce”.
When adding the first store, a certificate must also be created, which is required for the setup in the mame App. To do this, set a password under “Order certificate” and remember it or save it in a safe place. Important: The password will be required again later and can no longer be viewed after the certificate has been created.
If special characters are used for the password, only the following may occur: ~!@#%^*_+-={}[]:,./
The previously added bank account must be selected under “Credit account”.
After the registration in the last step the UUID will be displayed. Keep this value somewhere for later steps. To display the UUID again go to “Stores” and edit the settings of your shop.
On the same page you can also download the certificate, which will later be required for the settings in the mame App.
2. Activation of the service in the mame App
Log into your account at mamedev.app. You can find the username and password for mamedev.app in your account at mamedev.ch. Alternatively you can fill in the registration form at mamedev.app/register.
Go to the page “Applications > QR-Bill > TWINT integration > Settings” to start the setup.
2.1 Payment method
In the first step you need to add a payment method to activate the service. The service can be stopped anytime.

2.2 Add store
In the next step, the information for the shop is required for which the integration is to take place.
- In the “QR-Bill Store UUID (TWINT)” field, the UUID of the store from step 1.1 must be entered.
- The Notification URL is the URL for the JSON REST API of the WordPress site. Usually this is made up of the page URL and the ending “/wp-json”.
Optional: If a link should appear on QR-bills for payments via TWINT in the browser, the toggle “Add TWINT payment link to QR-bills?” to be activated:
- The UUID from step 2.2 must be inserted under “QR-Bill Payment Link Store UUID (TWINT)”.
- Upload the certificate file you downloaded in step 1.2. You can download it again in the TWINT portal under “Settings”.
- The certificate password was either set in step 1.2 or earlier if a store had already been added to the TWINT portal.
- The store logo (optional) is displayed on the payment page and must have the dimensions 800 (width) x 400 (height) pixels.

3. API credentials
Next, you need to connect the plugin to your account at mamedev.app.
Go to the page “Settings (cogwheel in the top right) > API settings”. On this page you can generate a new webhook key by clicking on the “Generate new key” button.

On the same page under “Api Tokens > Add Api Token” you can generate a new token. Enter any name (e.g. the name of your shop) and select “TWINT” in the selection field. Please save the token as it will only be displayed once and cannot be retrieved afterwards.

4. Settings in the WordPress backend
Log into the WordPress backend of your website and go to the page “QR-bill > Settings”. On this page, enter the API token and the Webhook key from step 3 and then save the settings.

Then activate the checkbox “Activate TWINT” and click “Synchronize” under “TWINT > Store ID” to load the store that you added to your mamedev.app account. Select the store and save the settings to complete the setup.
