Create and edit QR-bills
QR-bills/inpayment slips can be created in the following three different ways:
1. Automatic creation by order
To automatically create QR-Bills for WooCommerce orders, the “QR-Bill” payment method must be activated under “WooCommerce > Payments”. As soon as a customer pays with the “QR-Bill” payment method, a QR payment slip is created, which the customer can download on the order confirmation page. The QR-Bill is also attached to the confirmation email and can be downloaded at any time from the customer account (if one exists).
2. Manual creation under “QR-Bill > Bills”
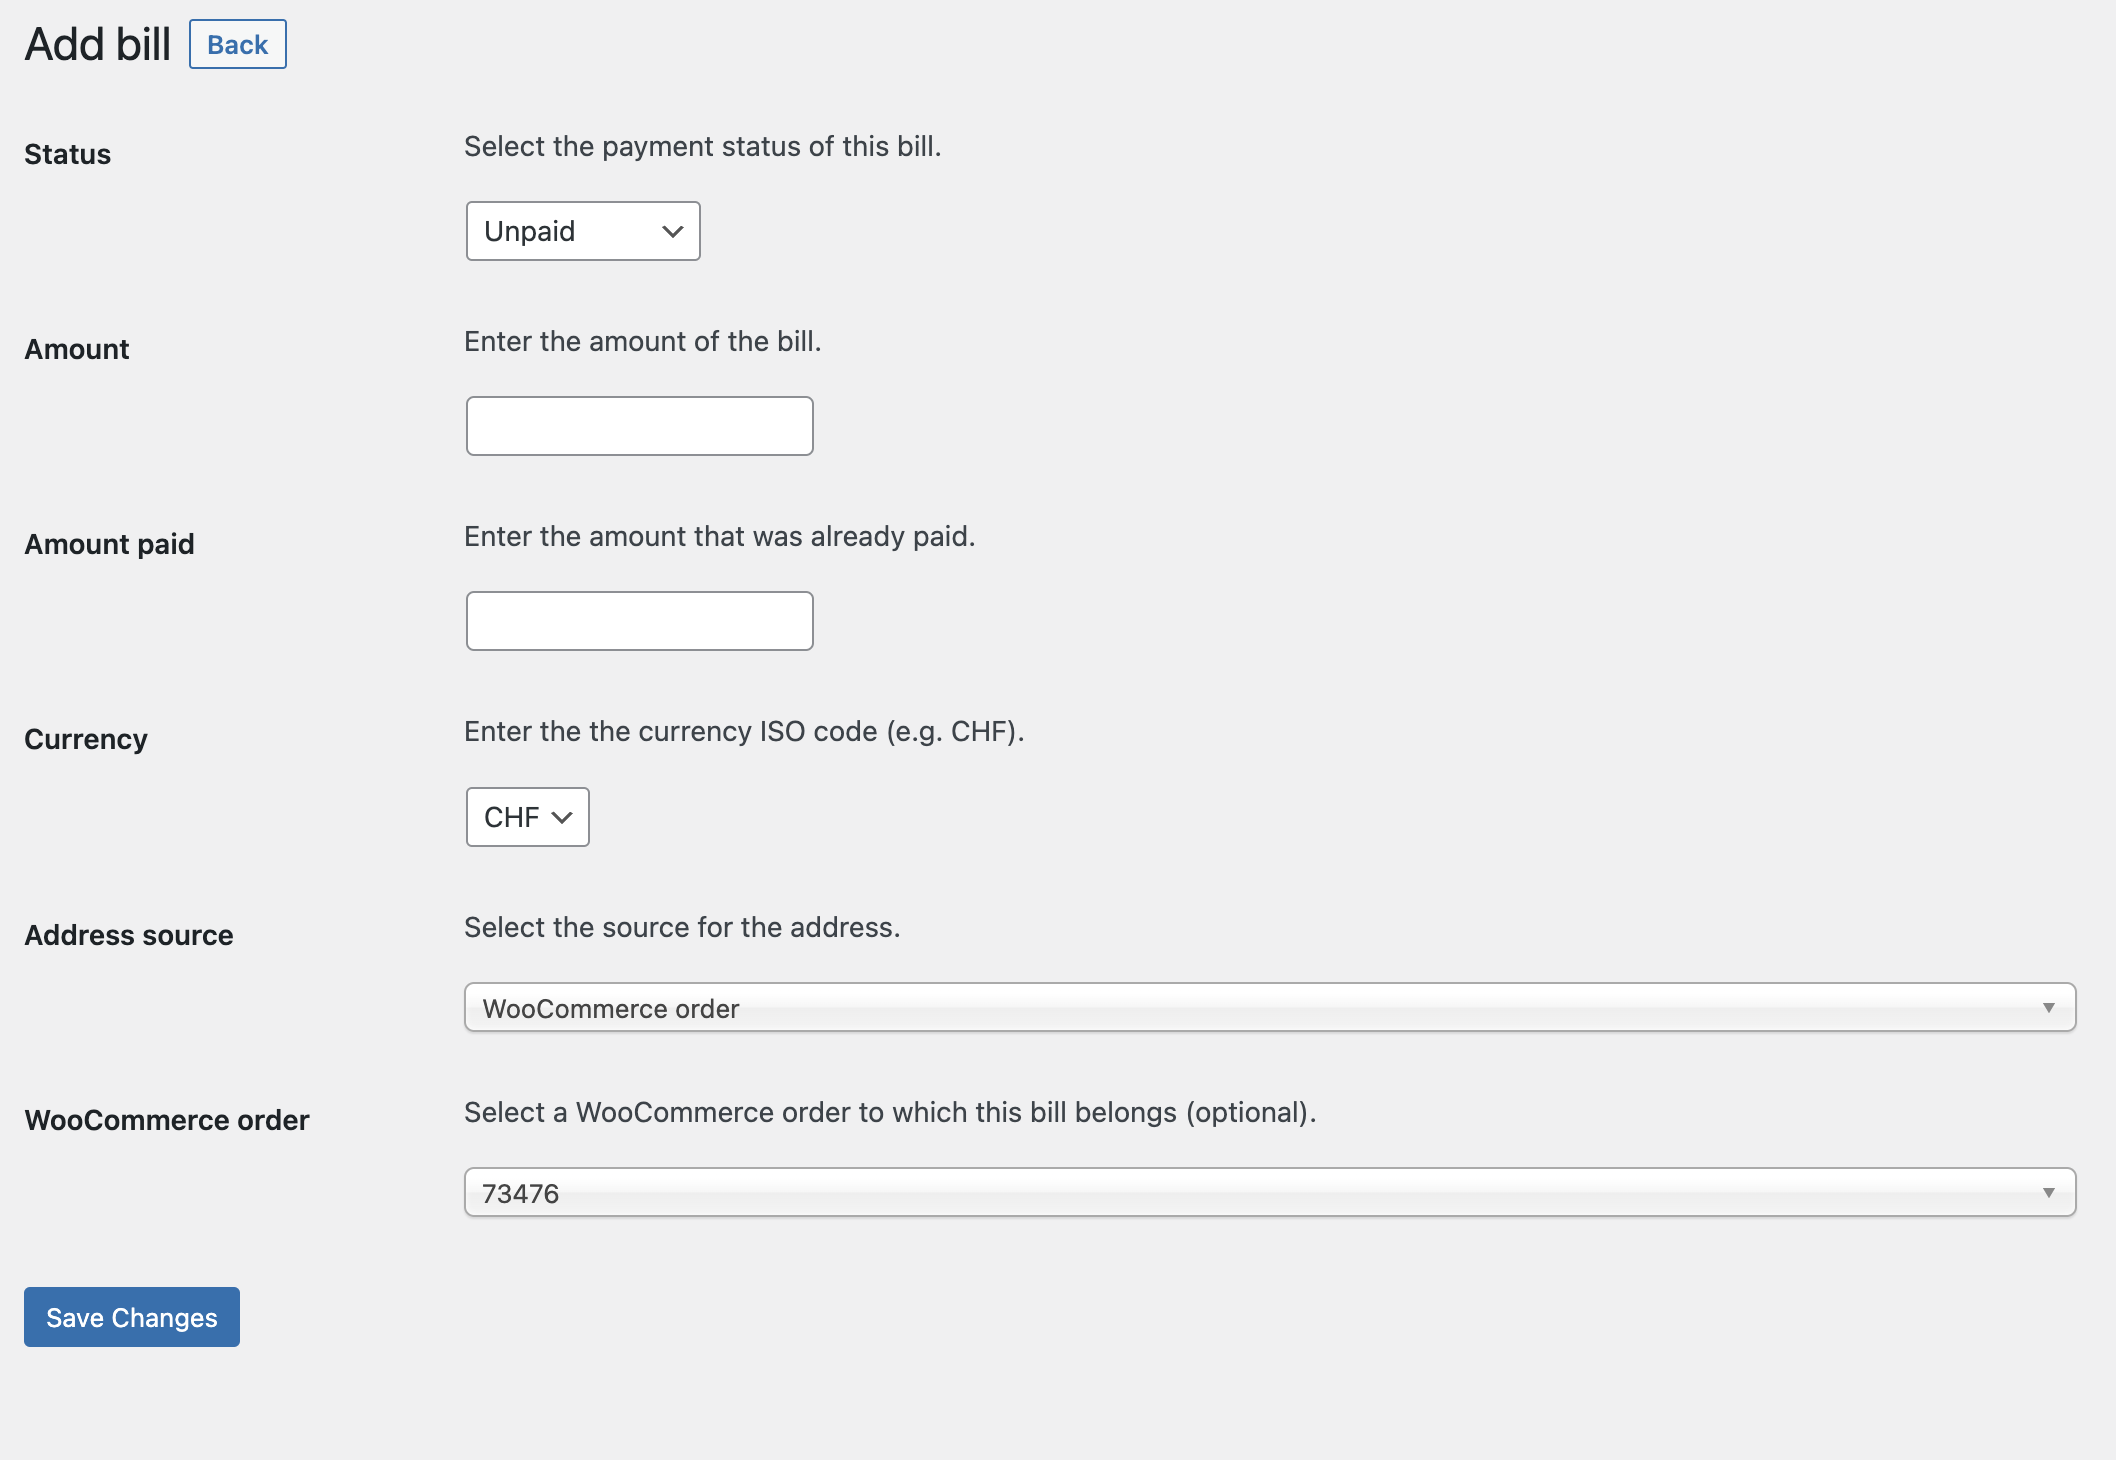
A new bill can be created under “QR-Bills” by clicking on “Add new” at the top left. Required information is invoice amount and currency.
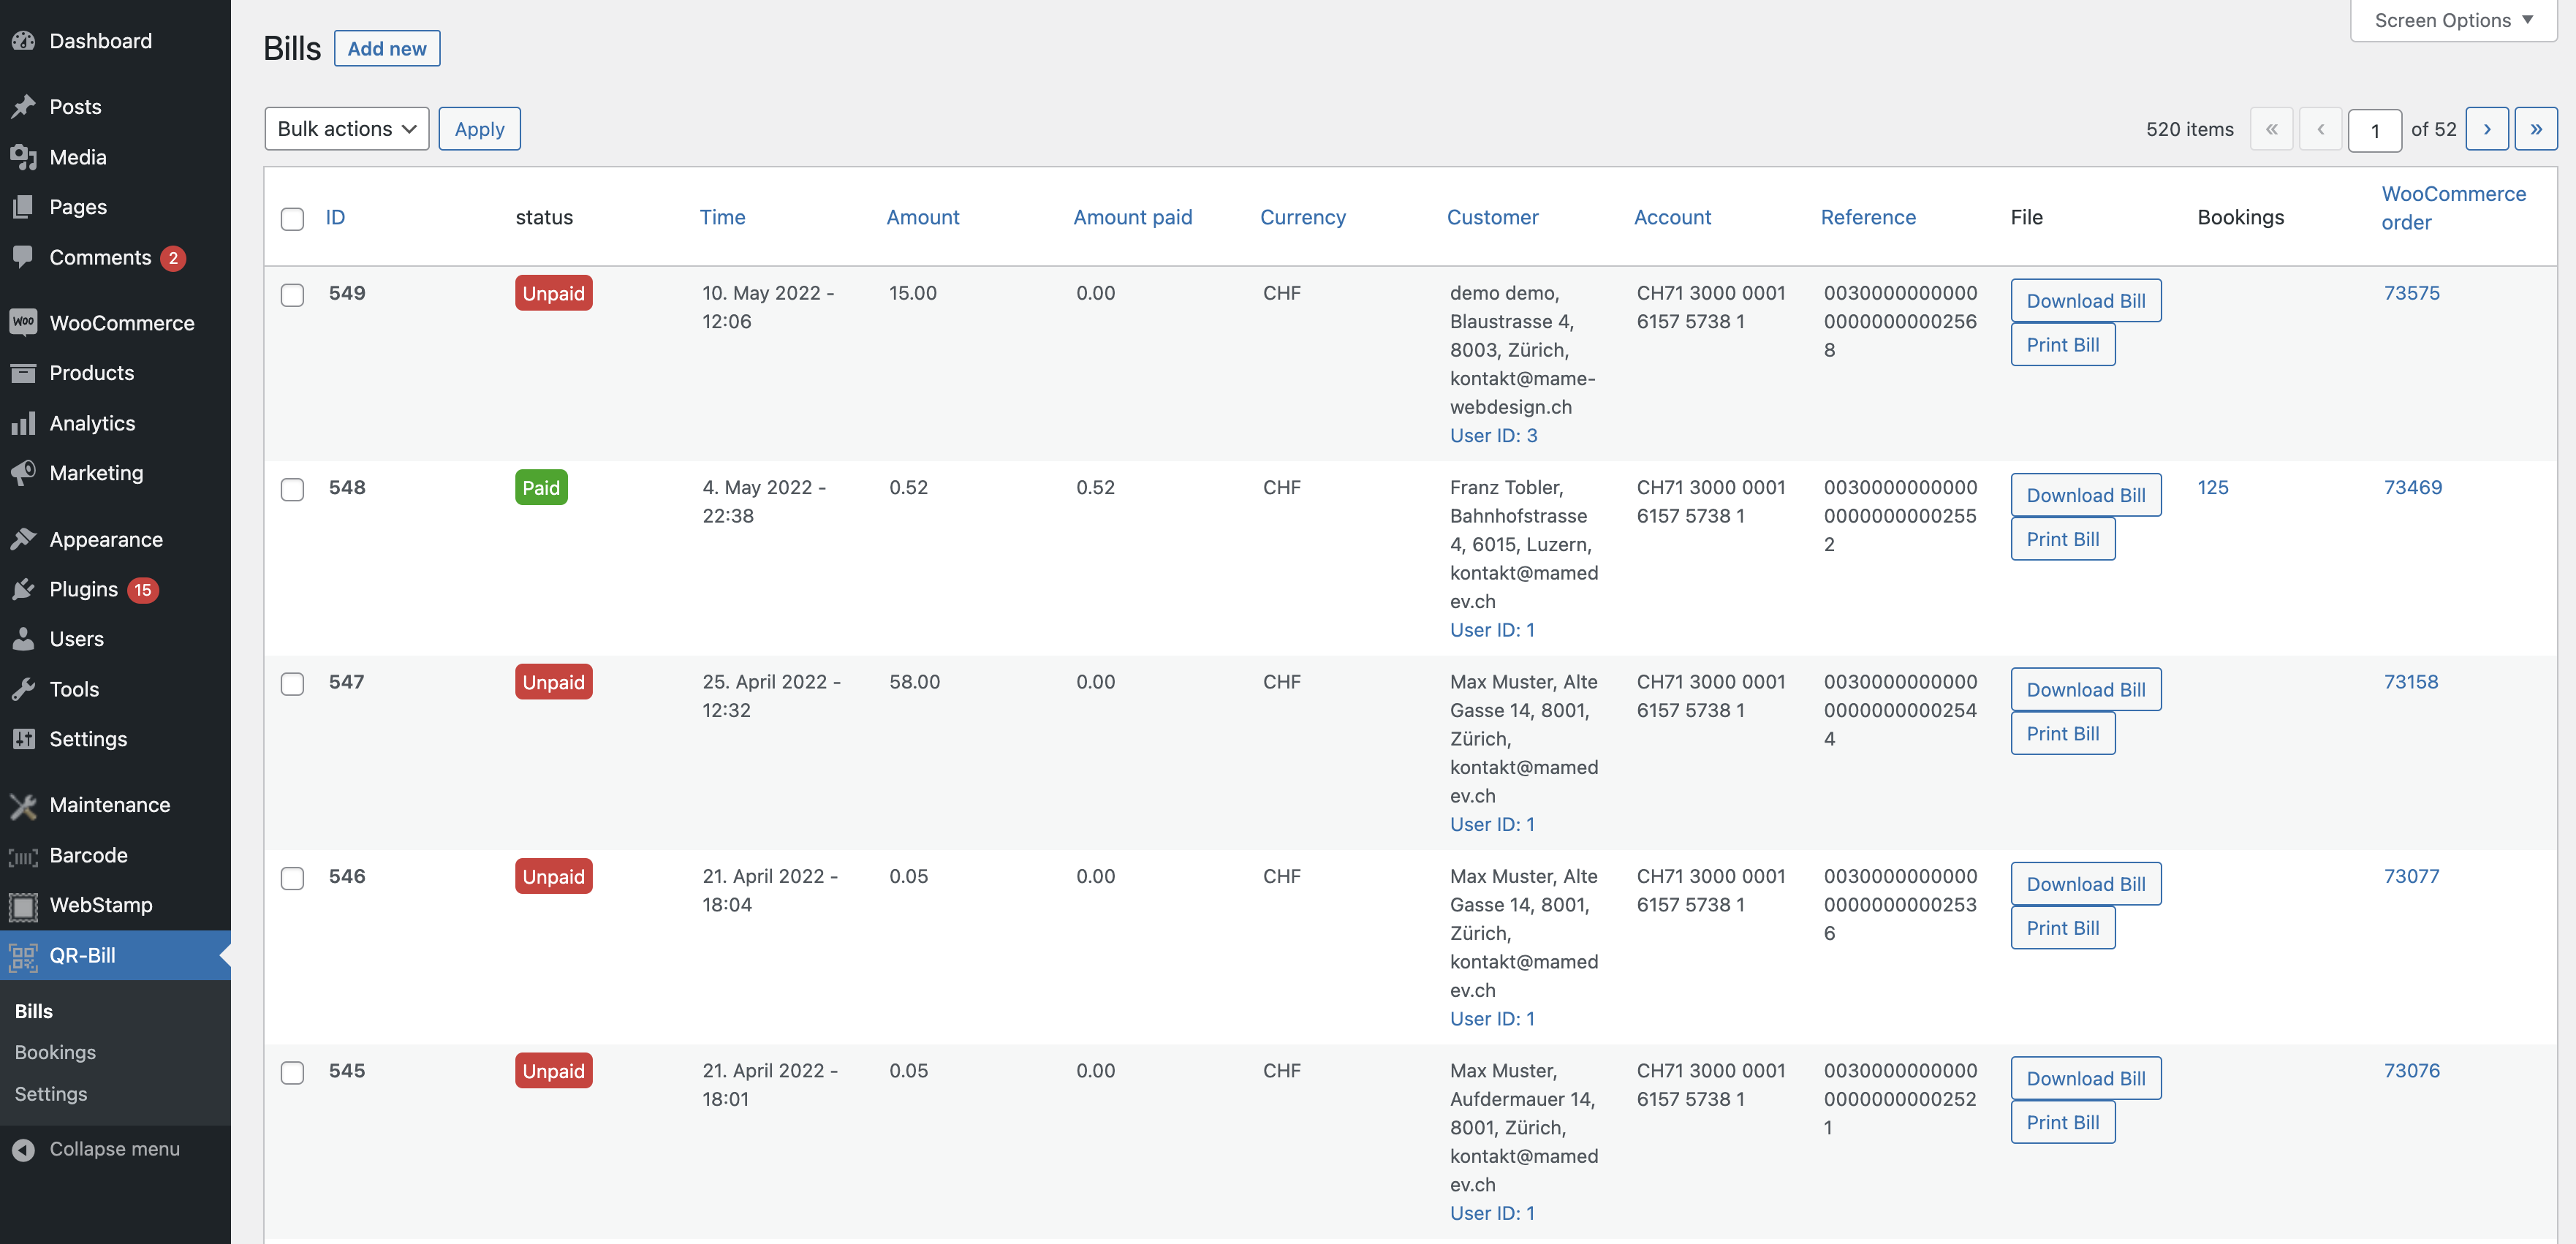
The address is optional and you can choose whether the address should be taken automatically from an order or from a user/customer or it can be entered manually.
After creating a bill, only the amount already paid, the status and the WooCommerce order number can be changed.
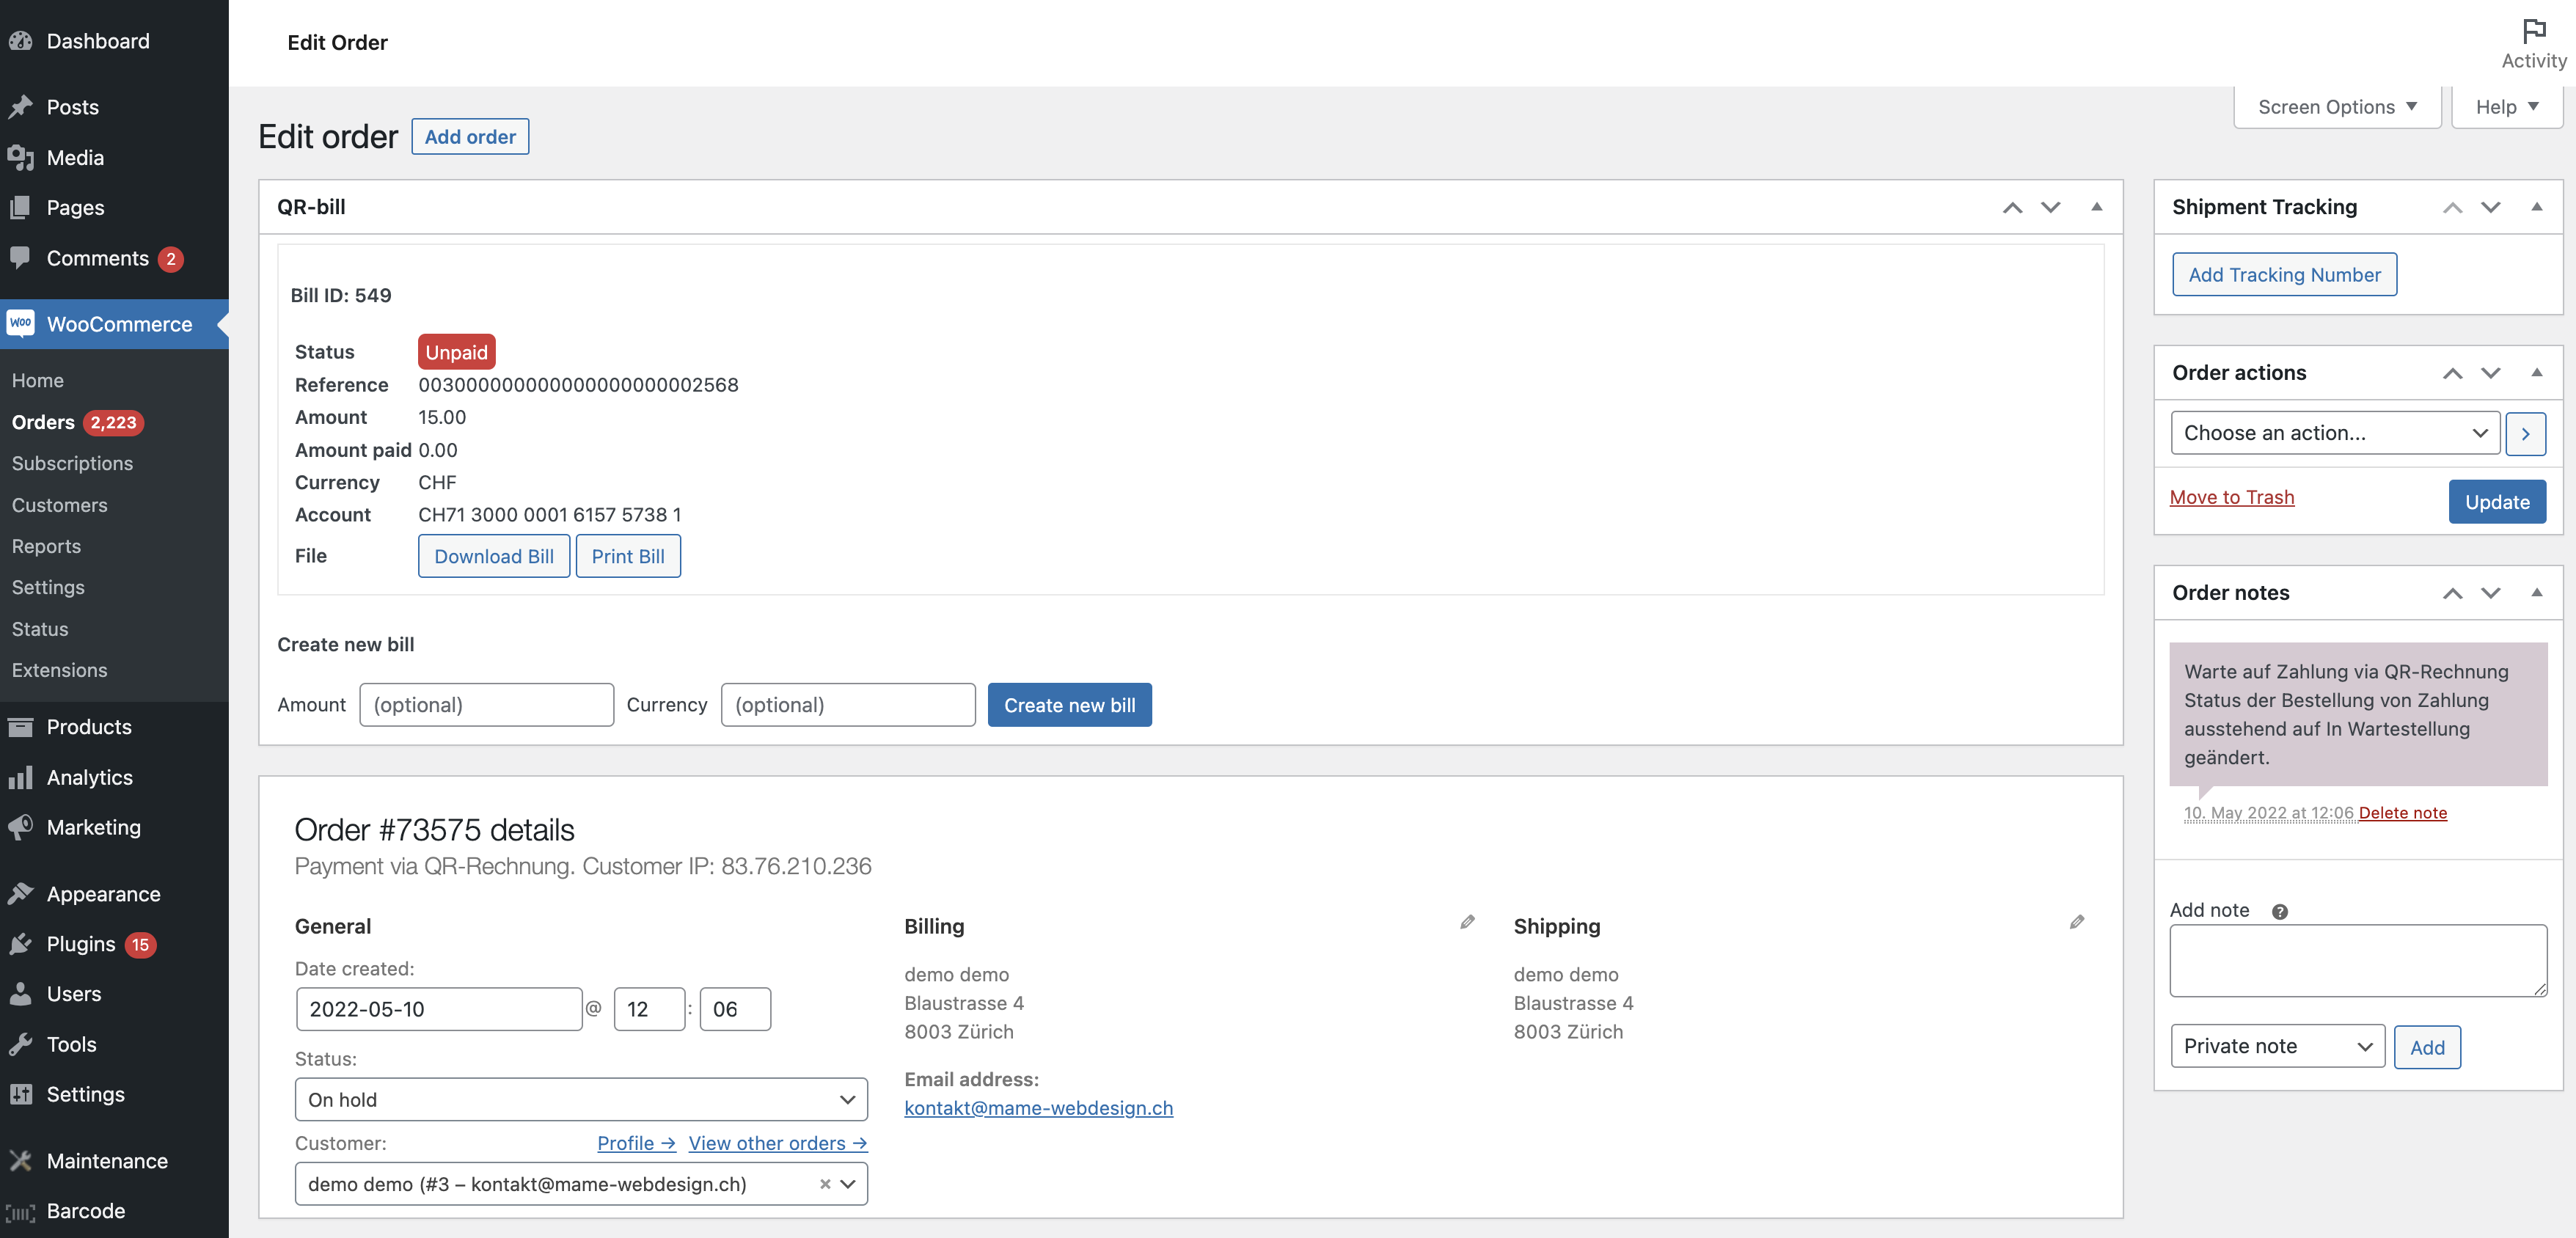
3. Manual creation on the order edit page
Under “WooCommerce > Orders > [Order], new QR-Bills can be created in the “QR-Bill” metabox with the details of the WooCommerce order. Optionally, the amount and currency can be entered, otherwise the amount and currency are taken from the order. The billing address is used for the address.