1. Setup of the plugin
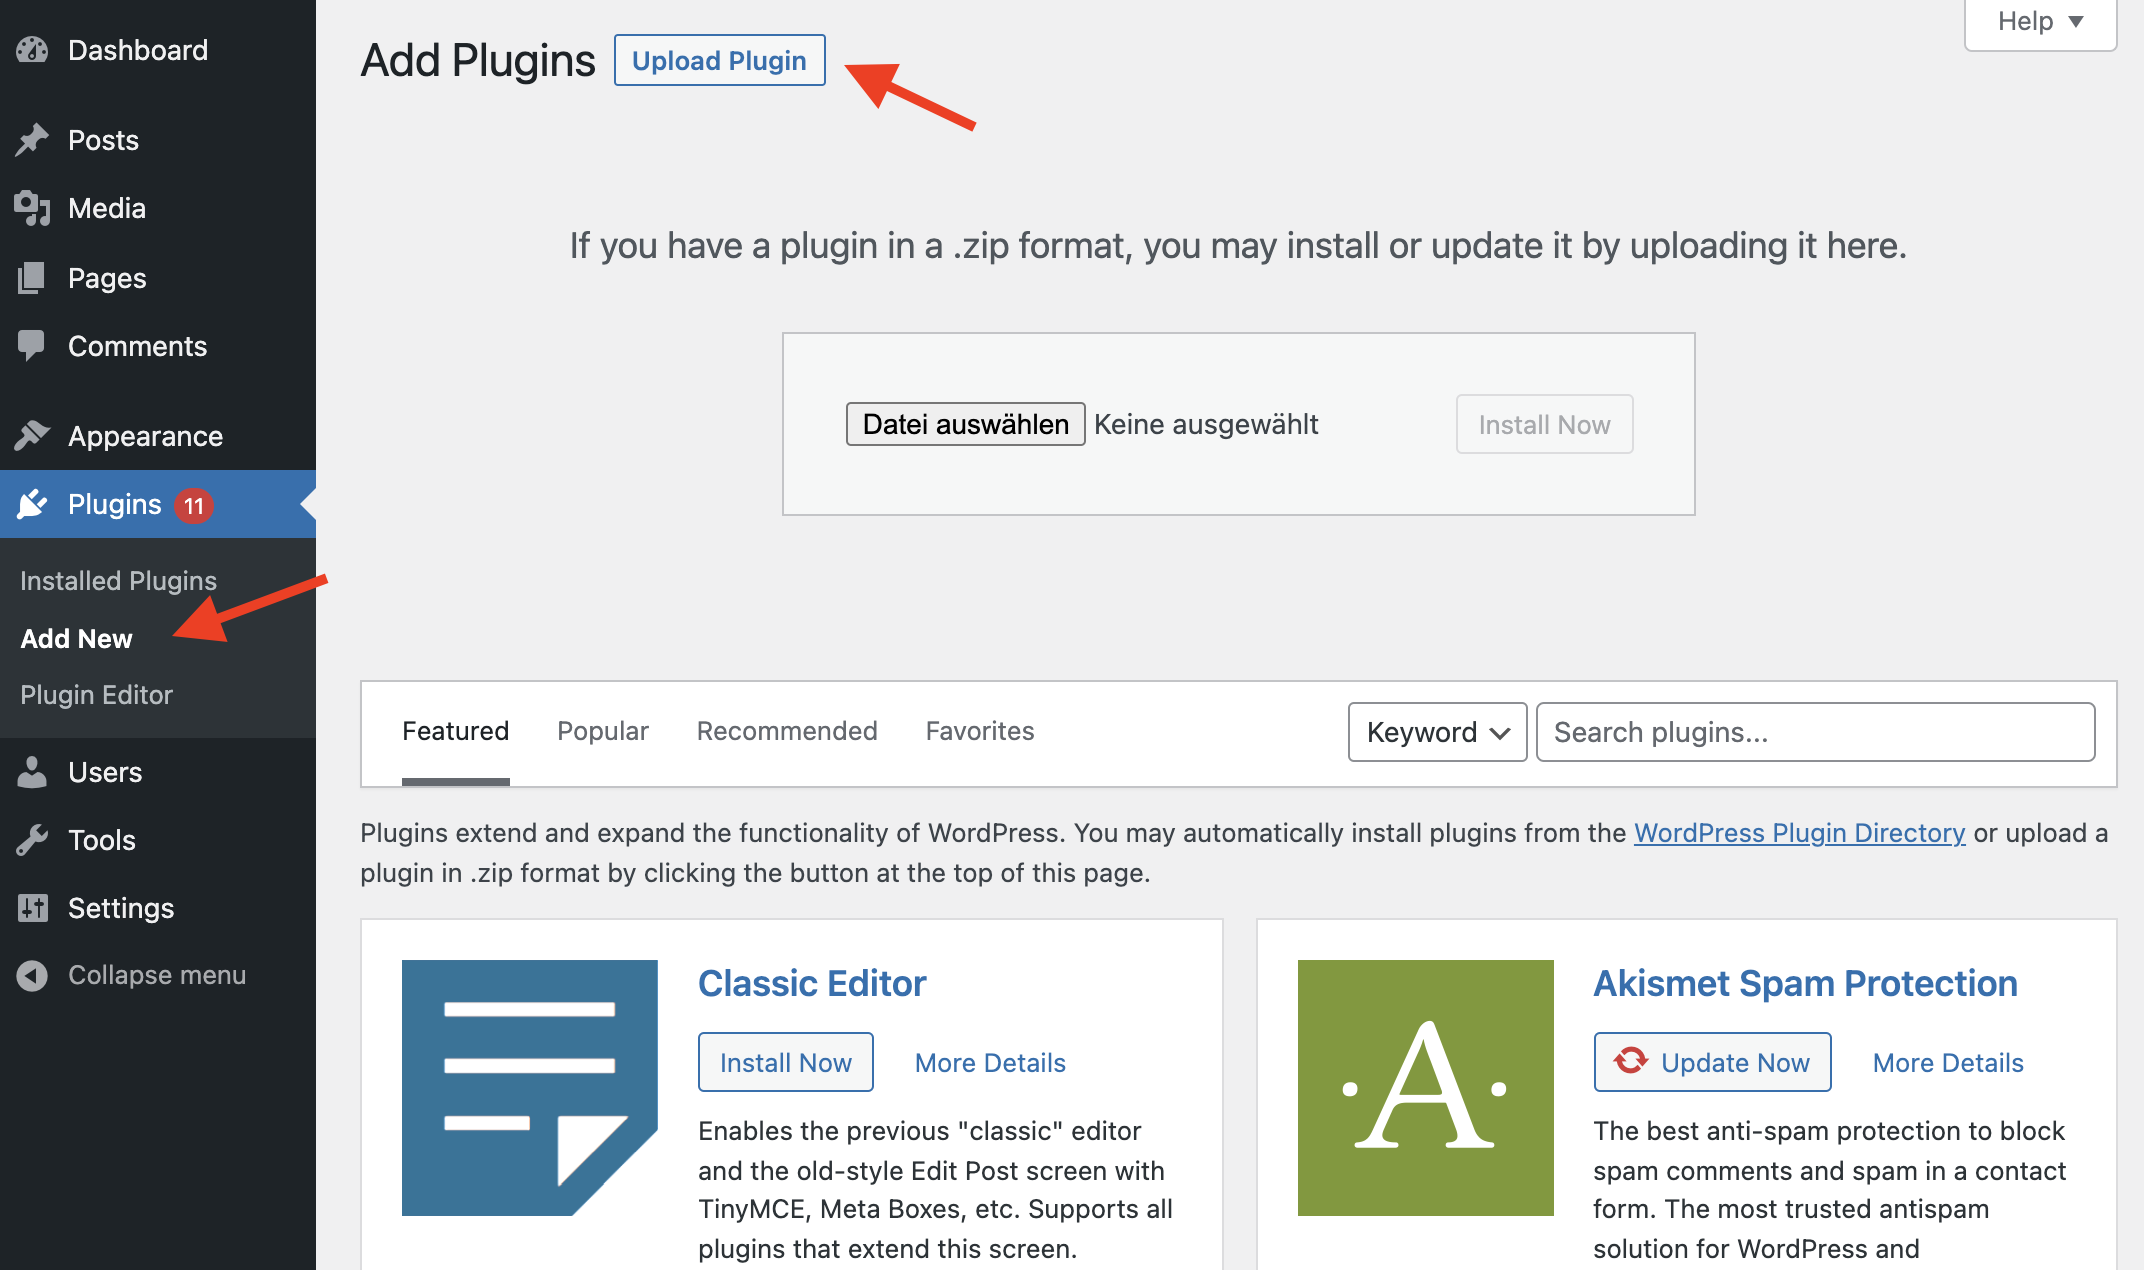
1. Plugin installation
- Download the mame-track-consignments-woocommerce-[version].zip file from your mamedev.ch account.
- In the WordPress backend on the “Plugins > Add New” page, click on the “Upload Plugin” button at the top and upload the ZIP file (not the unzipped folder).
- Activate the plugin under “Plugins > Installed Plugins”.
2. Settings on mamedev.ch
Log in to the account on mamedev.ch that was used to purchase the plugin license in order to create API access for the plugin.
2.1 API Settings

After logging in to mamedev.ch and go to “Dashboard > Settings > API Settings”. On this page, you’ll find the Webhook Key, which you’ll need later. If no key exists yet, you can generate one by clicking the “Generate New Key” button.

Next, under “API Clients”, click “Add API client.” Choose any name for the connection (e.g., the name of the website) and select “Swiss Post Track Consignments” from the dropdown. Then click “Create API client.”

After creation, a green message will appear with the Client Secret. This is only displayed once and cannot be viewed again later. Copy it and save it in a secure location. It will be needed later in the WordPress backend settings. Also note the Client ID for the API client, which appears in the table.
2.2 Add Store
Then go to “Dashboard > Applications > Track Consignments” and click “Add store.”
![]()
Choose a name for the store and enter the URL of the WordPress site’s JSON API. This is typically the website URL followed by “/wp-json”, for example:
“https://mywebsite.ch/wp-json”
Then click “Save.”
![]()
3. Settings in WordPress
In the final step, you’ll need the API details from step 2 to connect the shop to the API.
In the WordPress backend of the site, go to “Track Consignments > Settings”, and first enter the plugin license key in the “License Key” field and click “Activate.”
You can find the license in the confirmation email or in your account on mamedev.ch under “Dashboard > Licenses.”

Next, under “API Client” enter the Client ID and Client Secret from step 2.1 and save them.
In the “Webhook Key” field, enter the Webhook Key from step 2.1.
Then click the “Synchronize” button and select the store you added in step 2.2.
Finally, save the settings to complete the setup.