Quick Setup Guide
A quick setup guide for payments with PostFinance E-Payment. Read the complete documentation for advanced options.
1. Settings in PostFinance back office
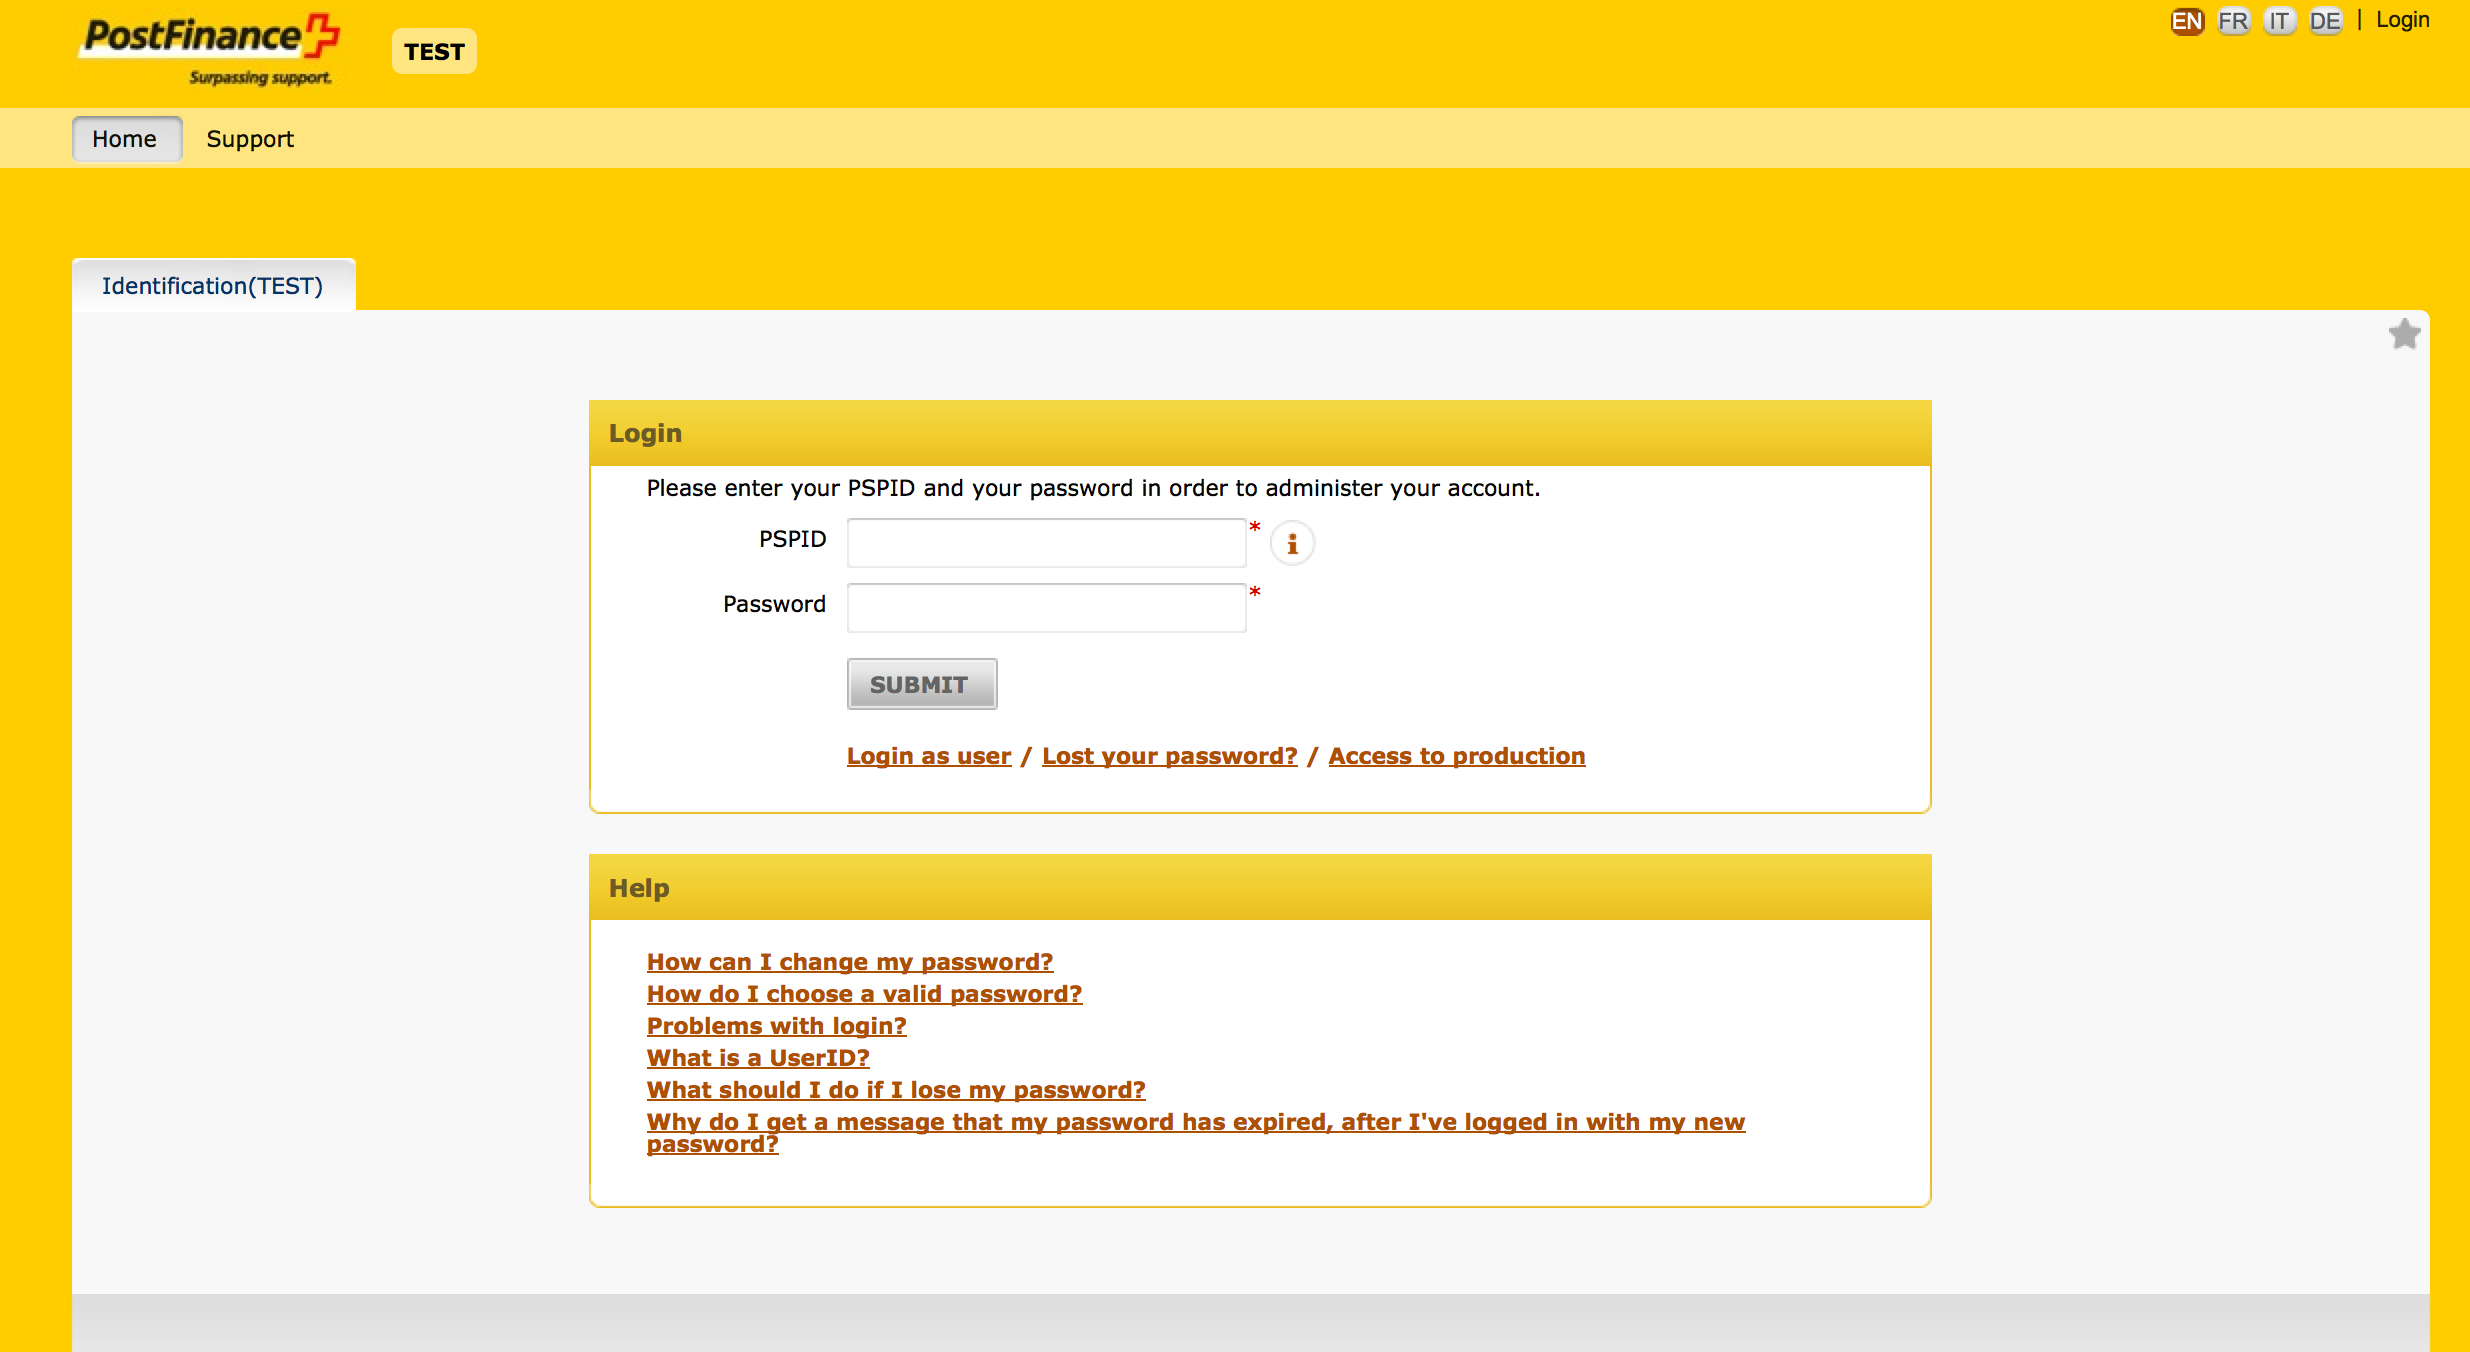
Go to https://e-payment.postfinance.ch/ncol/prod/backoffice and log into your PostFinance account using your PSPID and password. Choose “Access to test” to log into your test account.
Inside the back office choose “Configuration -> Technical information”. Go to “Global security parameters” tab and choose the following settings:
- Each parameter followed by the passphrase.
- SHA-1

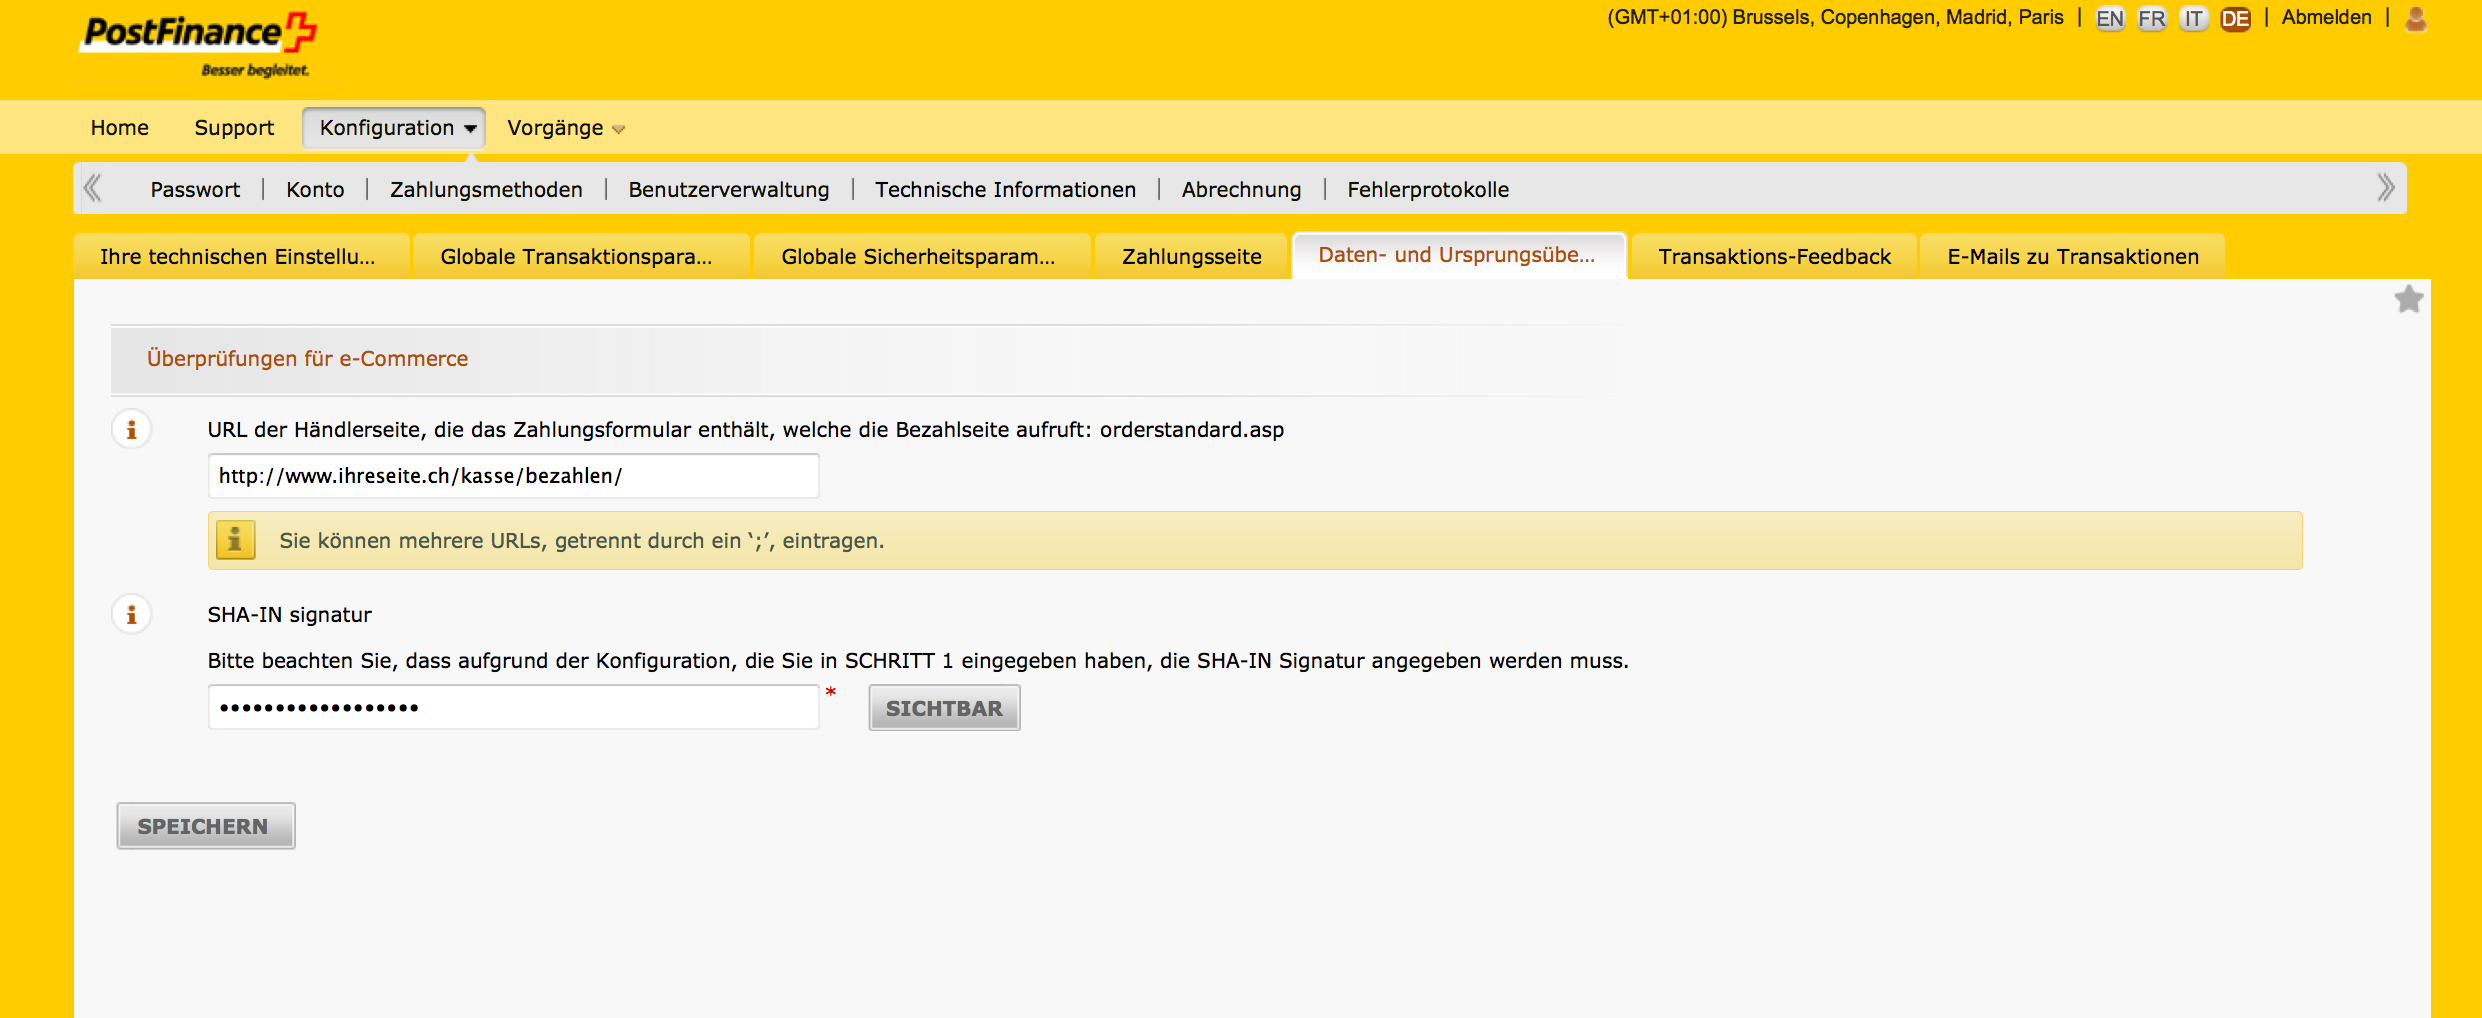
Go to “Data and origin verification” tab. You can optionally enter the URI of your checkout page (the page where the customer chooses the payment method) into the field “URL of the merchant page containing the payment form that will call the page” to improve security. Normally the URL of your website also works.
Choose a pass phrase to enter in the field “SHA-IN pass phrase”, which you will later need for the configuration of the payment method in the WordPress back end. The SHA-IN has to consist of at least 16 characters and contain lowercase characters (a-z) and at least one digit (0-9) or a symbol (&,@, #, !).
Go to “Transaction feedback” and choose the following:
- I would like to receive transaction feedback parameters on the redirection URLs.
- I would like PostFinance to display a short text to the customer on the secure payment page if a redirection to my website is detected immediately after the payment process.
Direct HTTP server-to-server request
Choose the option “Online but switch to a deferred request when the online requests fail”.
Enter the following URL into the fields:
[mywebsite]/mame-api/<PARAMVAR>/
Replace [mywebsite] with the URL of your website. If you use the same PostFinance e-Payment account for multiple shops enter the URL of the master shop instead. Click HERE for more information about the multishop feature.
The request method is GET.
General
Activate the checkbox “I would like PostFinance to re-launch the “end of transaction” (post-payment request/redirection) process if required”.
Choose the following dynamic e-commerce parameters:
- ACCEPTANCE
- AMOUNT
- BRAND
- COMPLUS
- CURRENCY
- NCERROR
- ORDERID
- PAYID
- PM
- STATUS
Enter a SHA-OUT signature consisting of at least 16 characters and containing lowercase characters (a-z) and at least one digit (0-9) or a symbol (&,@, #, !).
HTTP request for status changes
Check the option “For each offline status change“.
Enter the following URL into the field:
[mywebsite]/mame-api/<PARAMVAR>/
Replace [mywebsite] with the URL of your website. If you use the same PostFinance e-Payment account for multiple shops enter the URL of the master shop instead. Click HERE for more information about the multishop feature.
Notice: If you are using the multilanguage plugin Polylang in your master shop and the option “Hide URL language information for default language” is deactivated on the page “Settings > URL modifications”, you will have to append the language parameter of the main language to all of the above URLs:
E.g. https://mywebsite.ch/en/mame-api/<PARAMVAR> instead of https://mywebsite.ch/mame-api/<PARAMVAR>
2. General settings in WooCommerce
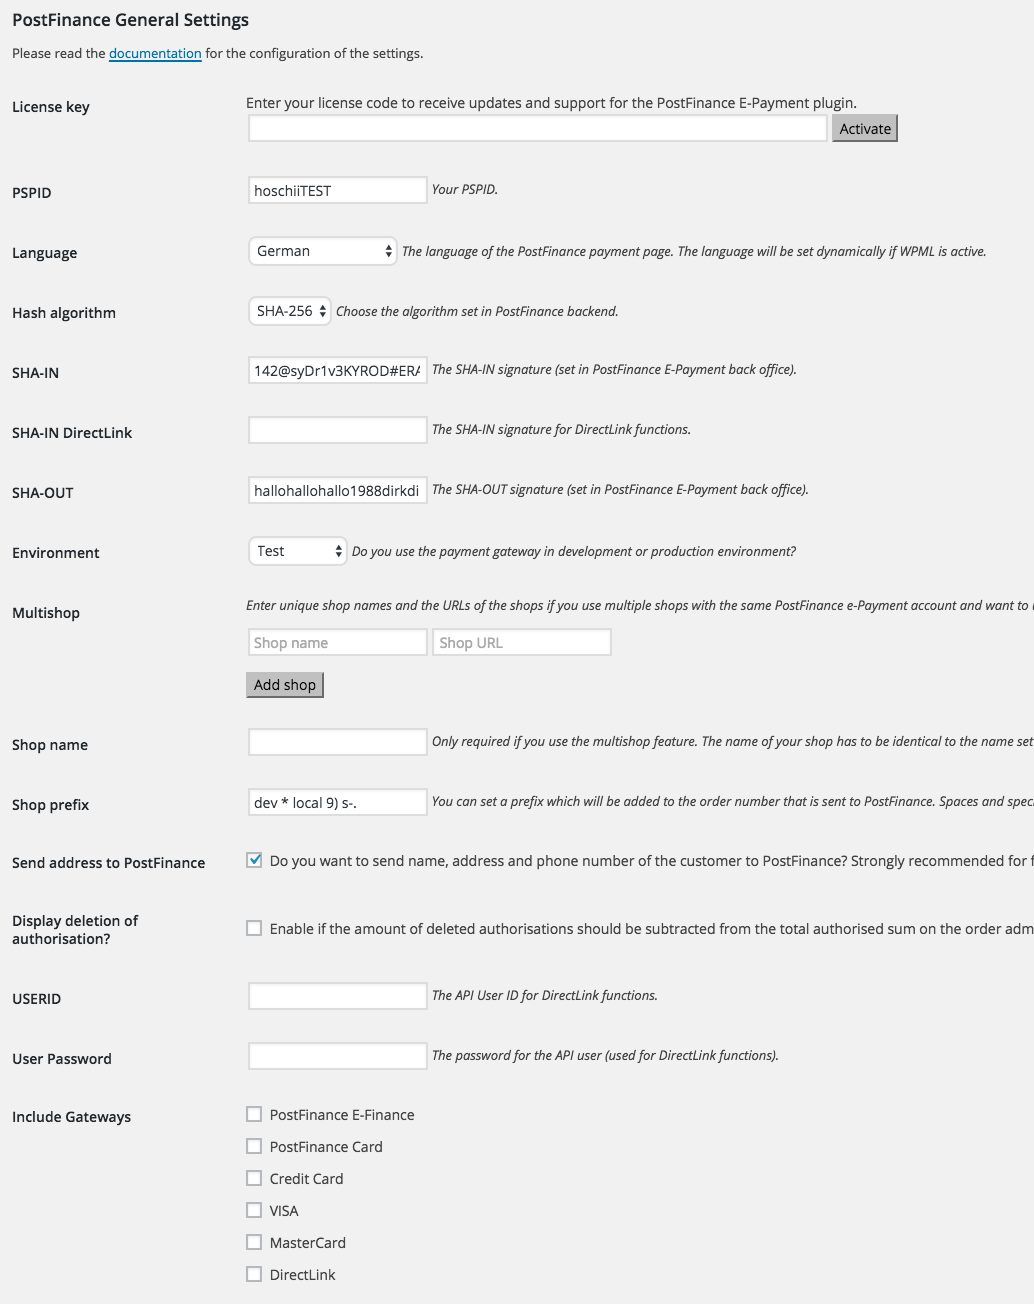
Log into your WordPress account and go to WooCommerce -> Settings -> PostFinance and make the following settings:
- License Key: Enter the license key your received with your purchase of the plugin and click “activate”.
- PSPID: The user name for your PostFinance back office account.
- Language: The Language of the PostFinance payment page. Will be set automatically if the language plugin WPML is active.
- Hash-Algorithmus: SHA-1 (the same as in PostFinance back office).
- SHA-IN: The SHA-IN pass phrase you entered in your PostFinance account.
- SHA-OUT: The SHA-OUT pass phrase you entered in your PostFinance account.
- Environment: Test if the transactions should be sent to a PostFinance test account (no real payment) or production for using the PostFinance production account.
- Send address to PostFinance (optional)
3. Payment method settings
Log into your WordPres account and go to
- Woocommerce -> Settings -> Checkout-> PostFinance (Woocommerce 2.1.x) or
- Woocommerce -> Settings -> Payment Methods -> PostFinance (Woocommerce 2.0.x).
Enable the payment method and choose the operation (direct sale or authorisation).
