3. Payment method settings in WooCommerce
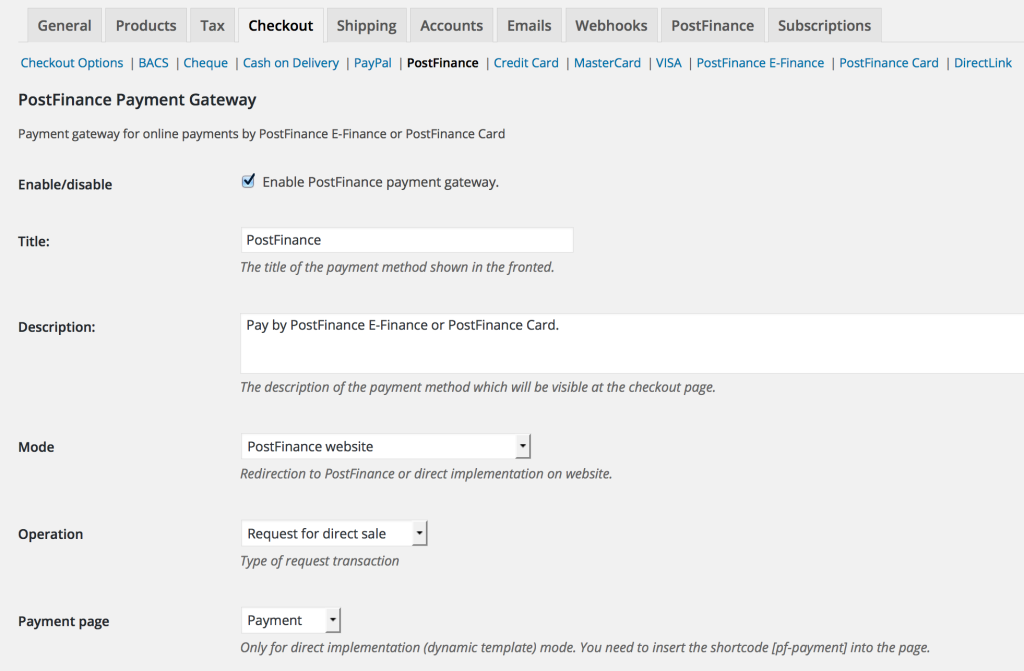
On the page “WooCommerce -> Settings -> PostFinance” load the payment methods you want to use and then go to the settings of each payment gateway on the page “WooCommerce -> Settings -> Checkout”.
3.1 General Settings
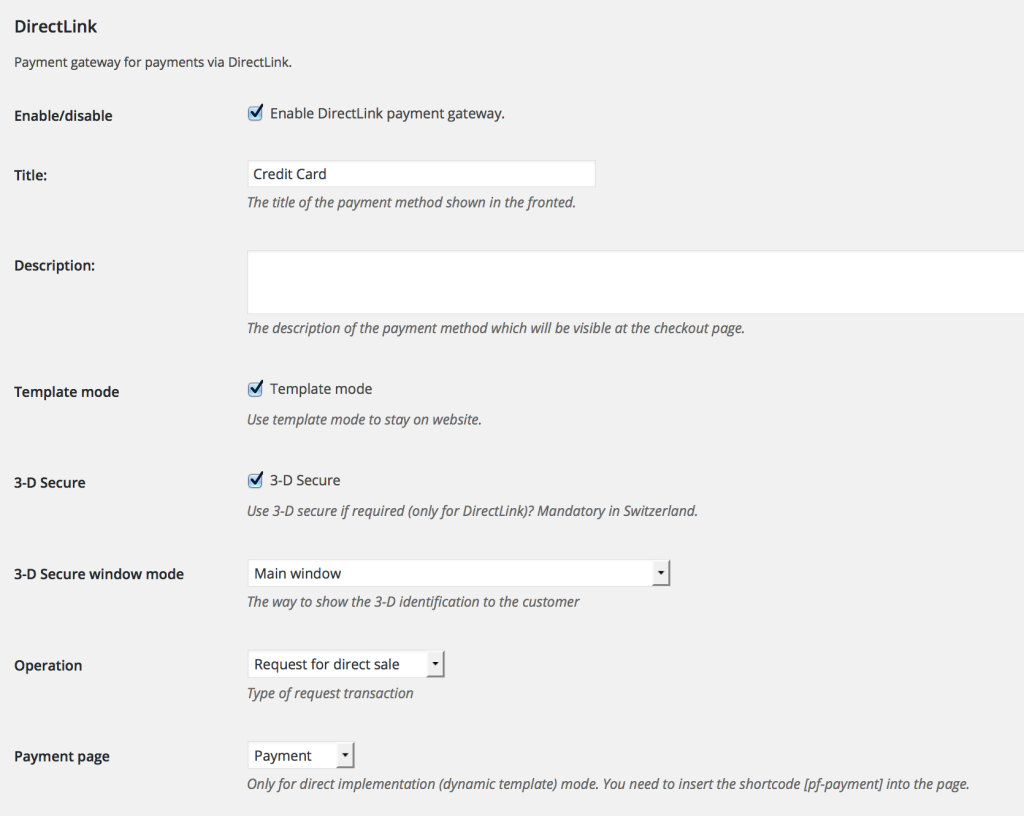
Enable/disable
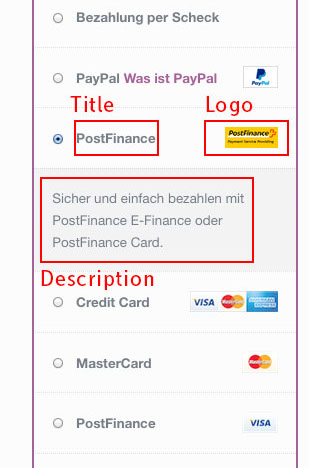
Display the payment method on the checkout page?
Title
The title of the payment method that will appear on the checkout page.
Description
The description of the payment method that will appear on the checkout page.
Mode (not for payment Method DirectLink)
The mode is the way the customer is redirected to the payment page of PostFinance. For every payment method you can choose between three modes (except for DirectLink):
PostFinance Website
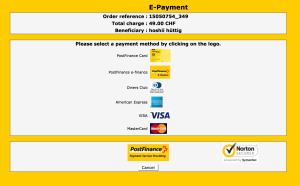
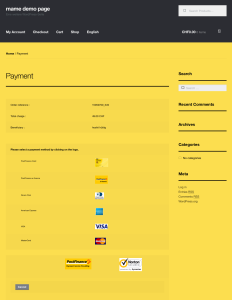
The customer will be redirected to the website of PostFinance. You can change the layout of the page using the layout options explaind further below.
Direct implementation (iFrame)
The customer will remain on your website during the payment and the PostFinance payment page will be displayed inside an iFrame (similar to embedding Youtube videos). The layout of the PostFinance payment page inside the iFrame can be changed using the layout options further below. After the payment is completed the page will jump out of the iFrame and display the confirmation page in the main window. It’s possible that the confirmation page will be displayed in the iFrame for a short time before jumping out. Therefore we recommend the dynamic template mode if you want a direct implementation of the payment page.
Direct implementation (dynamic template)
You will need a valid SSL certificate (https) for your website to use the dynamic template mode. Otherwise the website will not be displayed correctly (PostFinance blocks CSS and Javascript files which are not sent from a website with SSL).
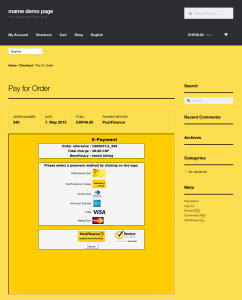
To use the dynamic template mode create a page and insert the shortcode [pf-payment]. The payment form will be sent from PostFinance and displayed in place of the shortcode. The layout of the payment form depends on the CSS styles of your Theme and cannot be changed using the layout options further below. Use CSS styles instead.
Operation
Defines if transactions should only be authorised with manual payment triggering (request for authorisation) or if the payment should be executed directly (request for direct sale).
Payment page
Only applies if the mode “direct implementation (dynamic template)” is selected. Choose the page in which you inserted the shortcode [pf-payment]. The PostFinance payment form will be displayed on this page.
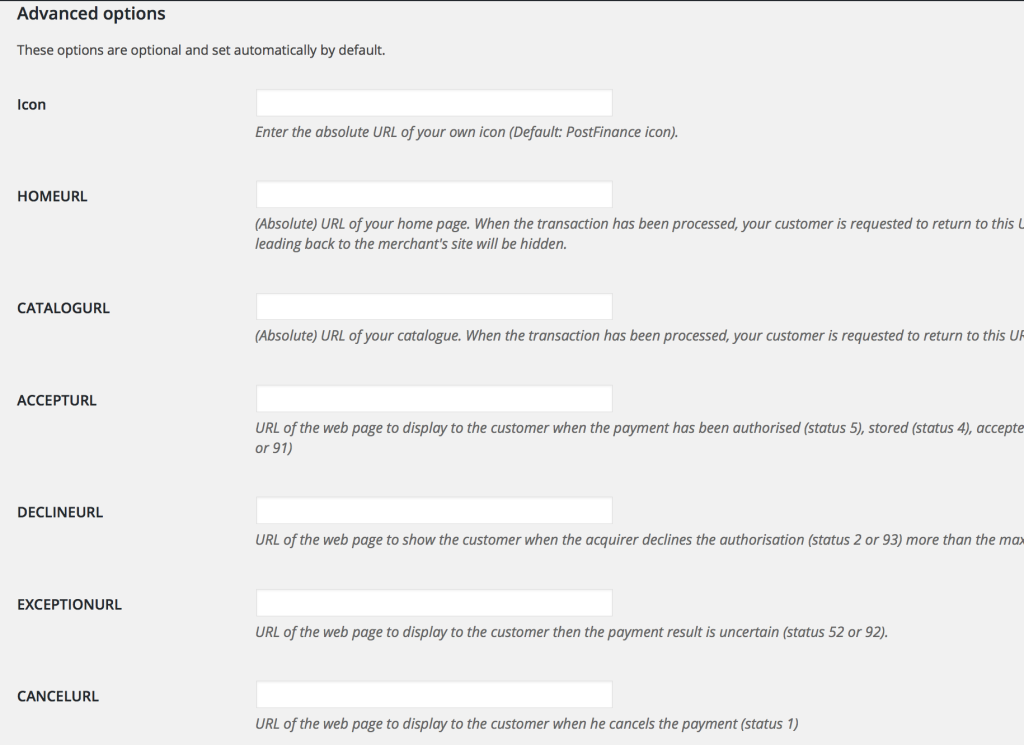
3.2 Advanced options
These settings are optional and will be set automatically by the plugin if empty.
Icon
The icon of the payment method next to the title which will be displayed on the checkout page. Enter the absolute URL of the icon, e.g. http://www.meineseite.ch/wp-content/uploads/2015/03/postfinance_icon.png.
HOMEURL
Homepage of the website. The Home-button on the payment page of PostFinance will be hidden If you enter “NONE”.
CATALOGURL
The general shop page of your website which lists your products. The settings in “WooCommerce -> Settings -> Products -> Display” apply if empty.
ACCEPTURL
URL of the page to display the customer after a successful transaction.
DECLINEURL
URL of the page to display the customer if the transaction has been declined.
EXCEPTIONURL
URL of the page to display the customer if the payment result is uncertain.
CANCELURL
URL of the page to display the customer when he cancels payment.
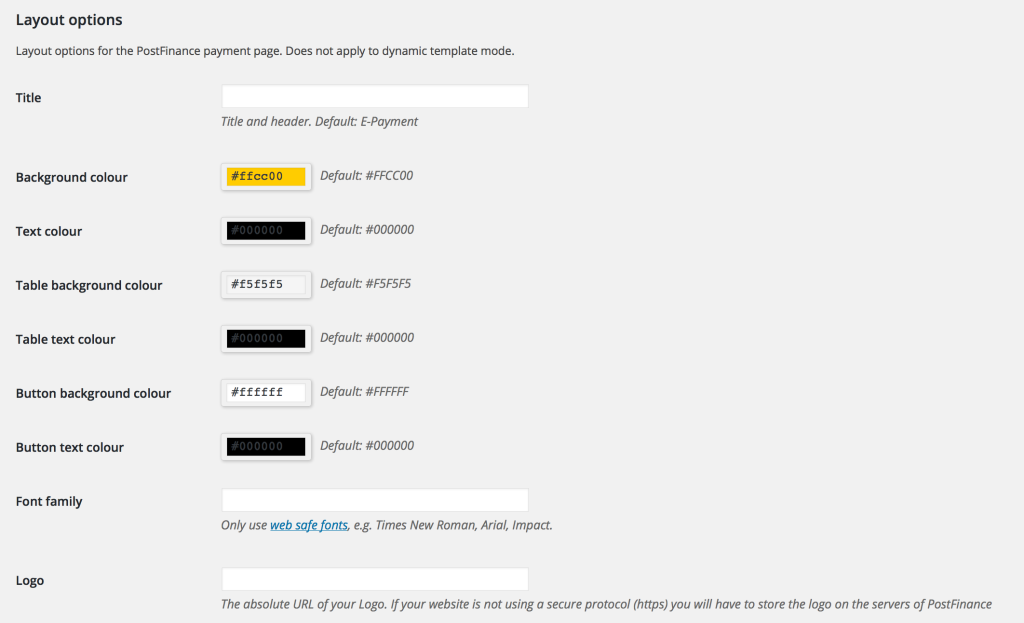
3.3 Layout options
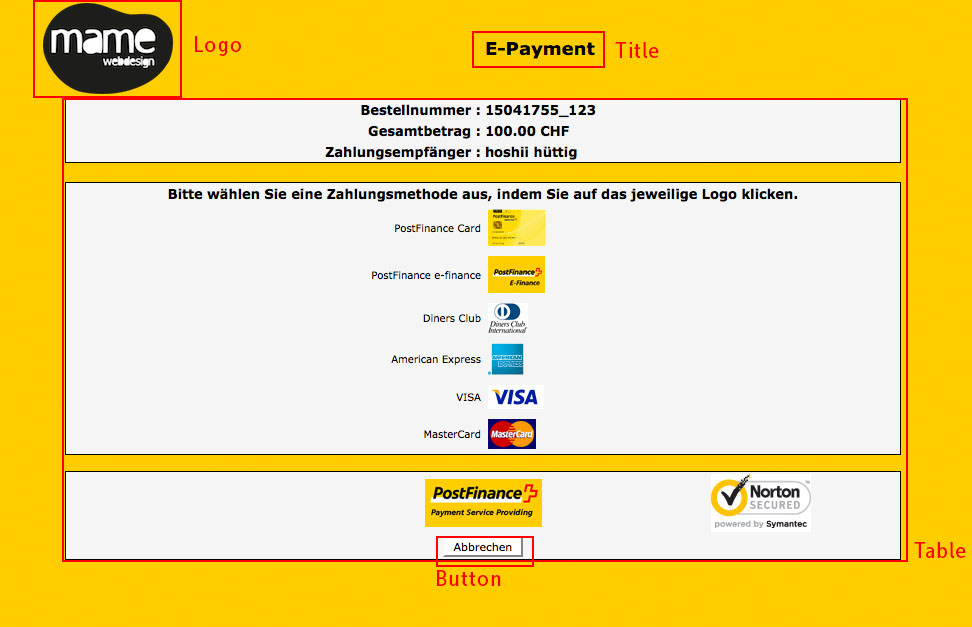
You can change the layout of the PostFinance payment page using the display options. The settings do not apply to the layout if “direct implementation (dynamic template)” mode is selected.
Title
The title of the payment form (default: E-Payment).
Background colour
The background colour of the payment form.
Text colour
The text colour of the payment form.
Table background colour
The background colour of the table of the payment form showing order details, payment method and the button.
Table text colour
The text colour inside the table.
Button background colour
The background colour of the buttons.
Button text colour
The text colour of the buttons.
Font family
The font of the payment form. Only use web safe fonts like Arial, Times New Roman, Impact and so on. More about web safe fonts: http://www.w3schools.com/cssref/css_websafe_fonts.asp
Logo
The absolut URL of the logo which is to be displayed on the PostFinance payment page. The logo has to be stored on the servers of PostFinance if your website does not have a valid SSL certificate (https).
3.4 DirectLink settings
These settings only appear on the settings page of the payment method “DirectLink”. You will need a valid SSL certificate to use this payment method.
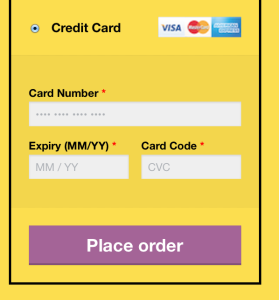
By using the DirectLink payment method the customer can enter the credit card details directly on the checkout page. No data will be saved but passed on to PostFinance. Therefore your website has to be PCI conform. If your website is PCI conform or not is a decision mad by your acquirer (SIX Paynet AG, B+S Card Servic and so on). Please ask your acquirer about the conditions.
Template mode
The customer will not leave your website (visually) if the template mode is active. The PostFinance payment form after the payment will be displayed directly on your website and adapt the CSS styles of your website. The settings in the layout options do not influence the layout of the payment form.
If deactivated, the customer will be redirected to the confirmation page of PostFinance after the payment. The layout of this page can be changed using the layout options below.
3-D Secure
Activate 3-D Secure if additional identification of the credit card of the customer is required. 3-D Secure is mandatory in Switzerland.
3-D Secure window mode
If 3-D Secure is enabled you can set the window in which the identification of the customer will take place.
- Main window: The customer will stay in the main window and be redirected to the identification page.
- Display in pop-up window and return to main at the end: The identification of the customer will take place in a pop-up window. The customer will be redirected to the main window after the verification.
- Display in pop-up window and remain in the pop-up window: The identification of the customer will take place in a pop-up window. The customer will stay in the pop-up window after the verification.
