3. WebStamp editor
The WebStamp editor allows you to create and order stamps that can be downloaded directly from within the WordPress backend of your website.
3.1 Stamp
In this step you can choose the product and the print media.
If you check the checkbox “Use image” the image that is uploaded in the settings on the page “WebStamp > Settings” is used. Optionally you can upload a different image to be used on the stamp.
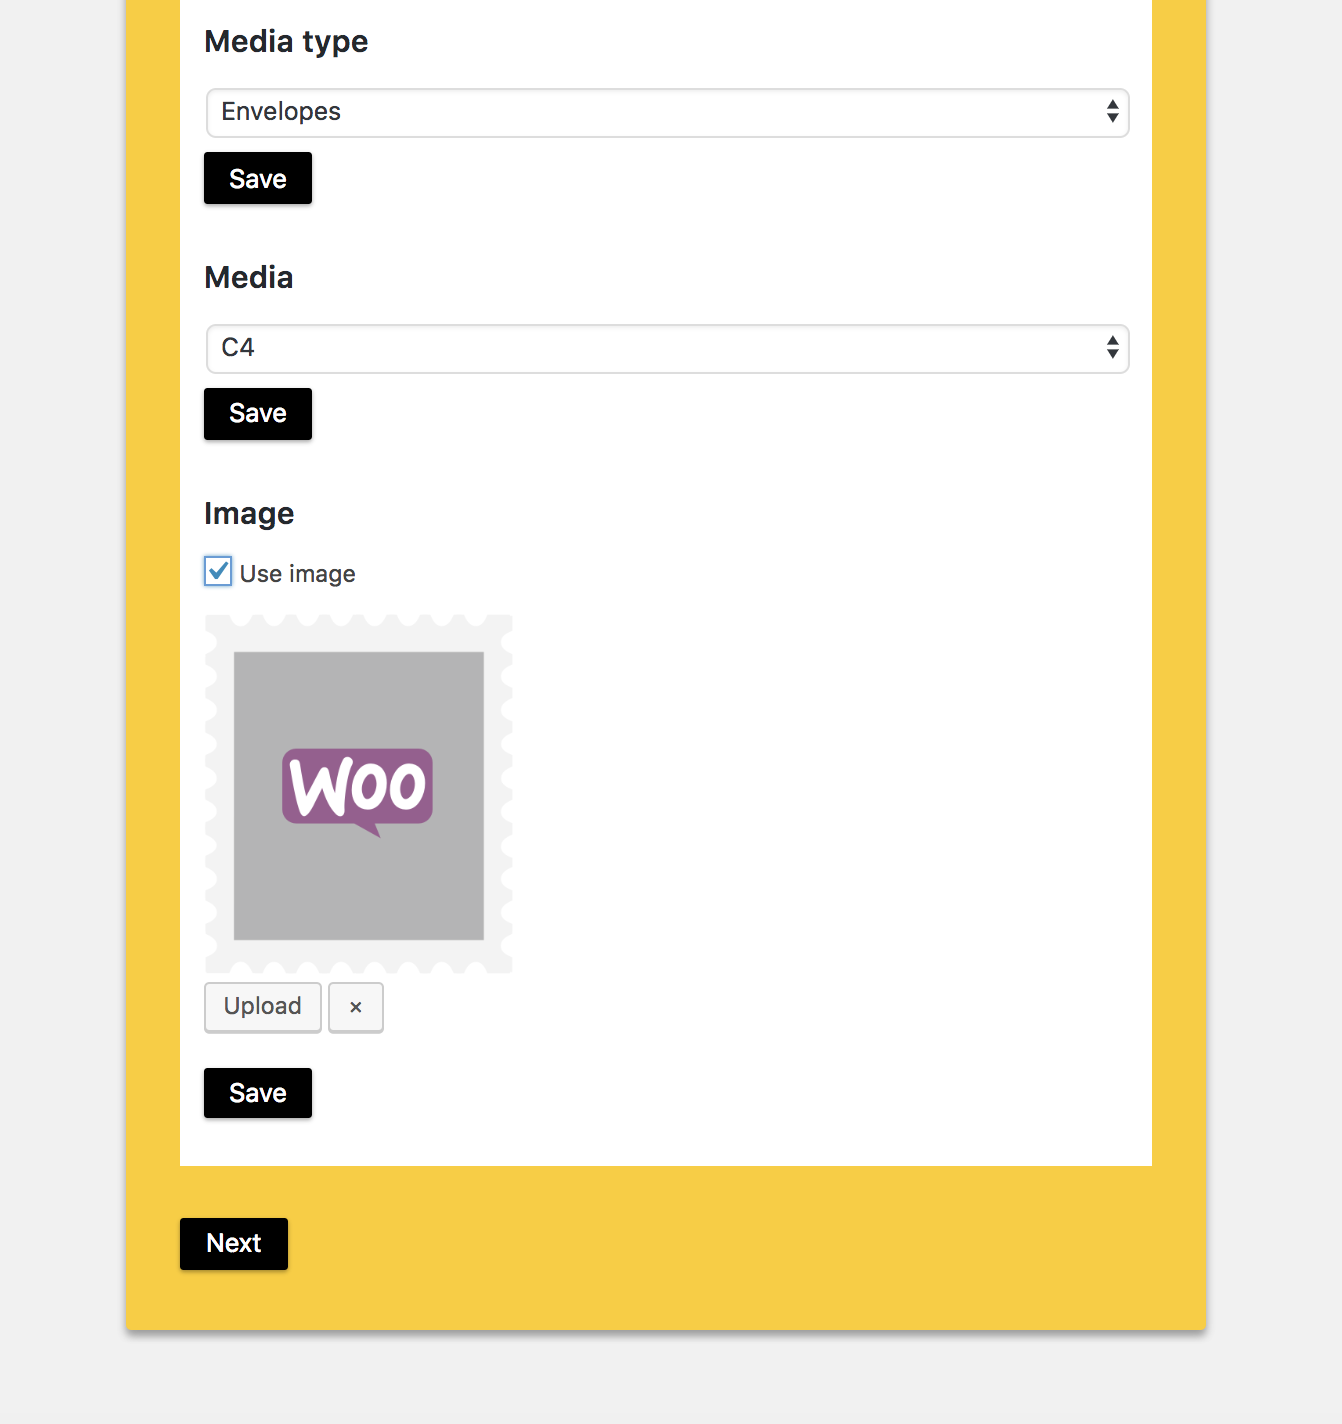
If you select a label medium you can also choose the start position of the label in a separate field.
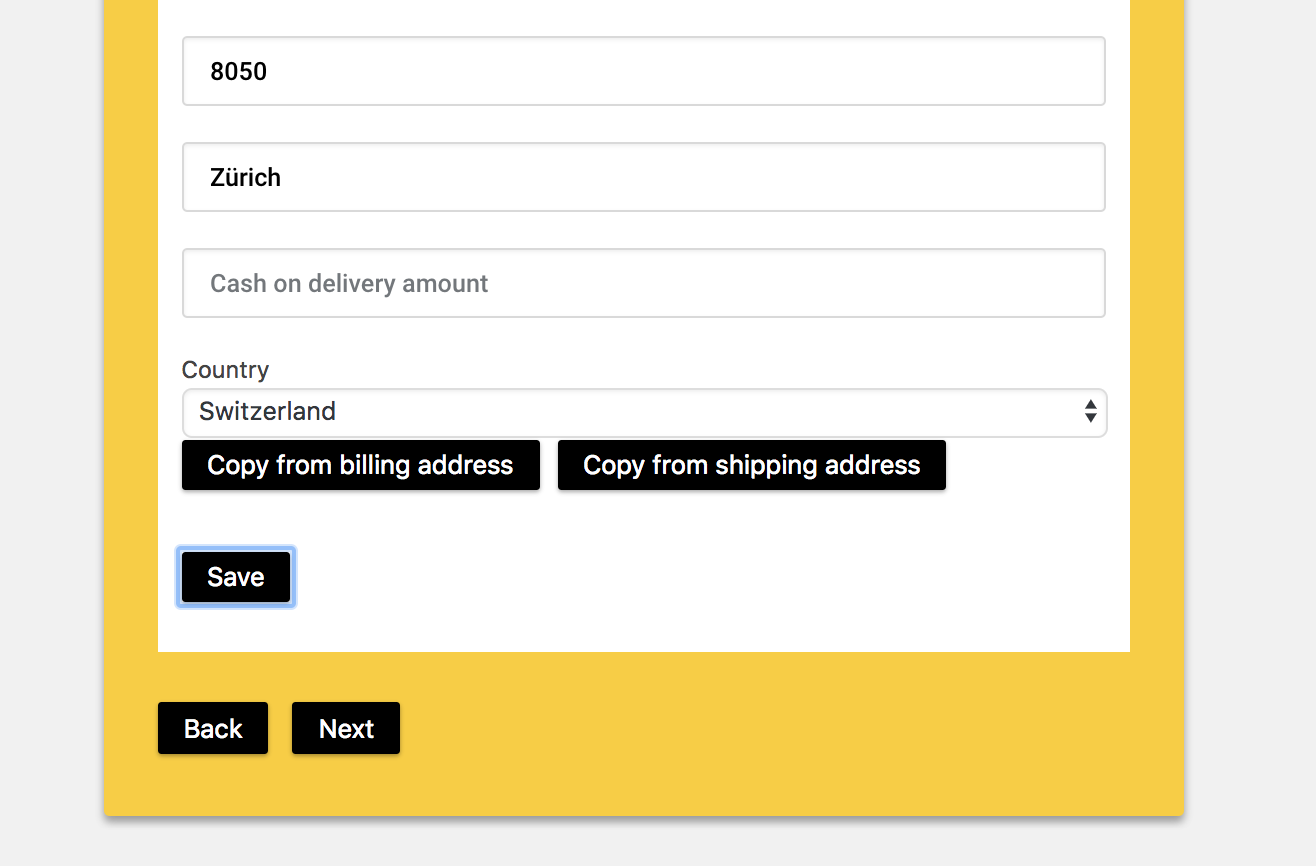
3.2 Receiver address
The receiver address is optional. If you don’t use a receiver address you can choose the number of stamps to be ordered.
The field “Cash on deliver amount” of the receiver address only has to be filled in if you want to order a cash on delivery product.
If you use the editor in the edit screen of a WooCommerce order additional buttons will appear to copy the shipping or billing address into the fields.
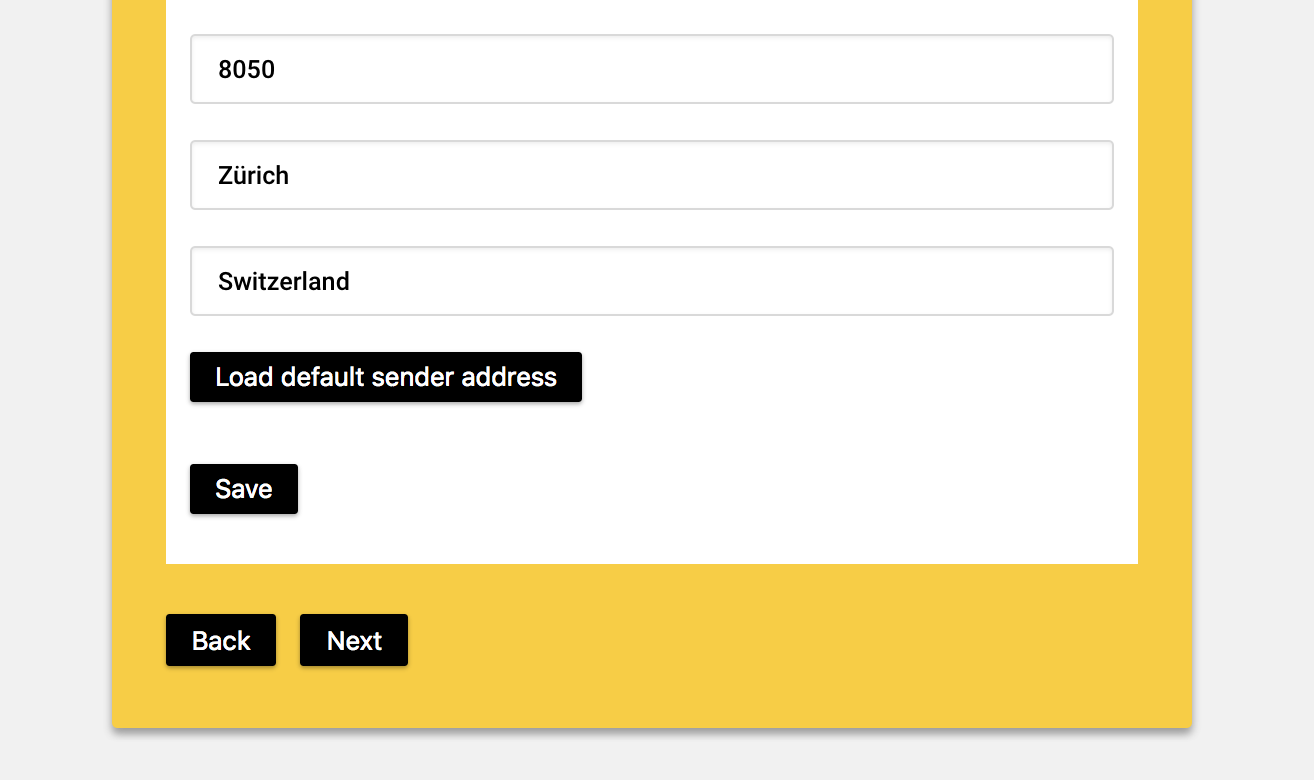
3.3 Sender address
You can optionally use a sender address. The sender address can be copied from the standard sender address set in the settings on the page “WebStamp > Settings” by clicking on the button “Load default sender address”.
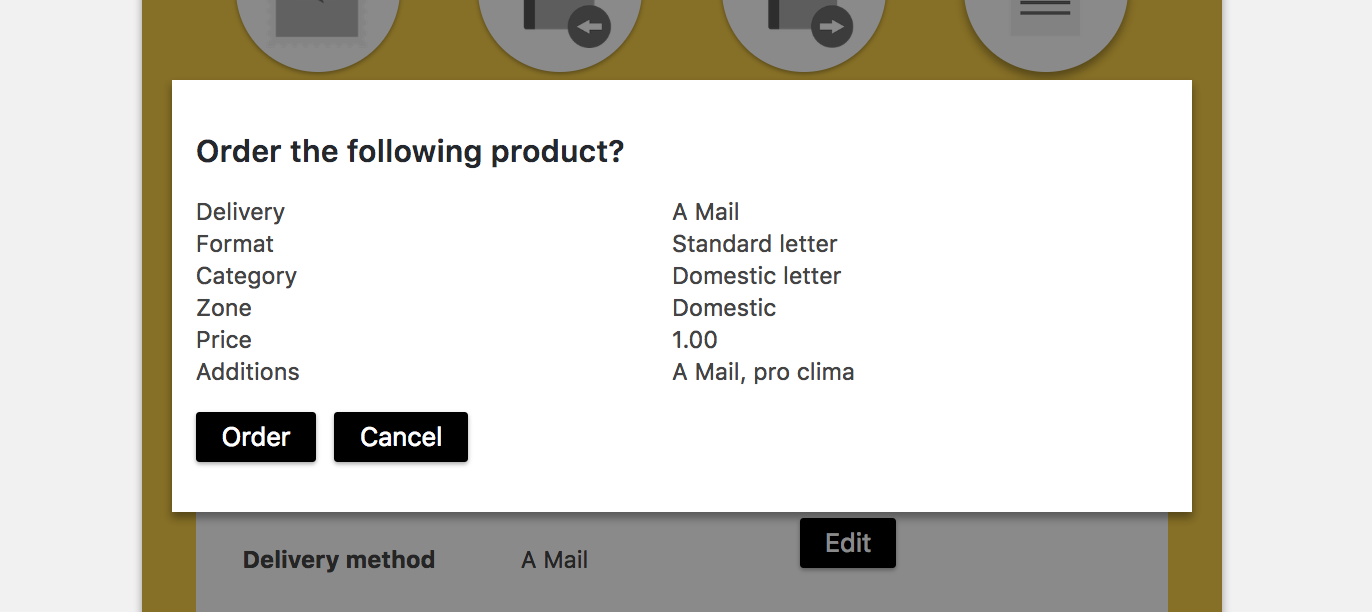
3.4 Overview
Here you can see an overview of the order. By clicking on button “Preview” a preview PDF is created which can then be downloaded by clicking on the button “Download preview”.
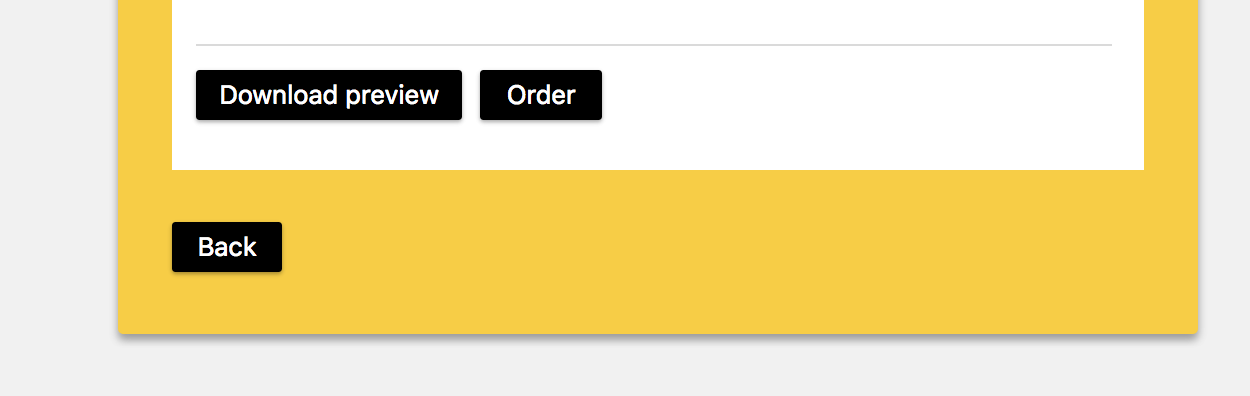
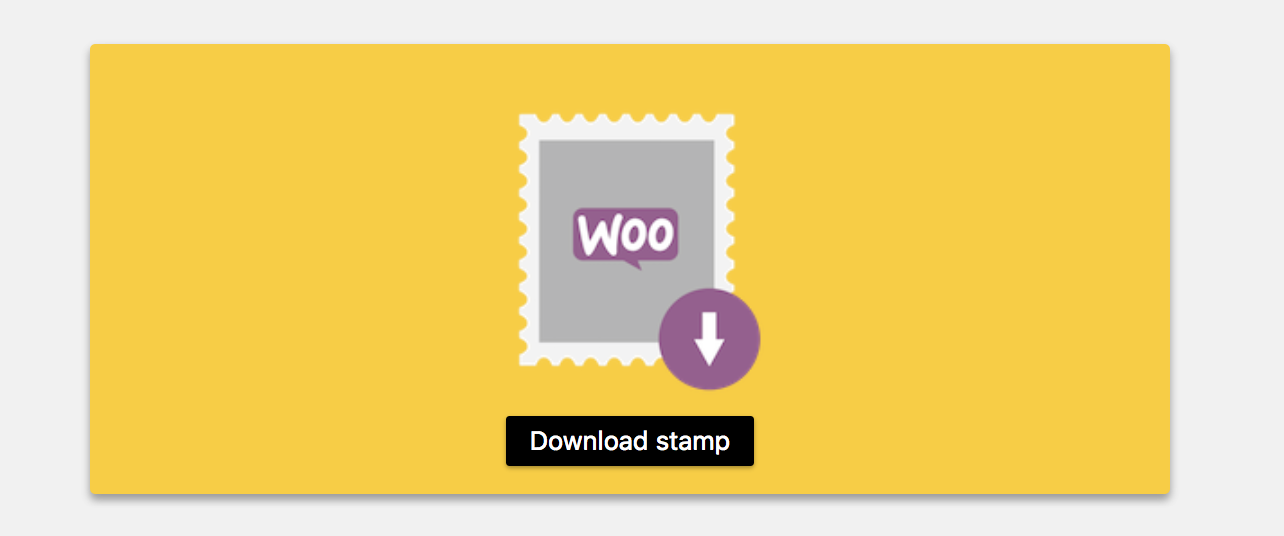
After you clicked the button “Order” an overlay will appear to confirm the order. You can then download and print the ordered stamp. You will find all the ordered stamps on the page “WebStamp > Orders”. Stamps that were ordered from the edit screen of a WooCommerce order are also listed in a metabox on the order edit screen.