2. Settings in WooCommerce
2.1 Setup
The following steps must be taken to set up the TWINT payment method. A detailed description of the setting options can be found under in sections 2.2 and 2.3.
- First fill in the following fields:
- License key field: Enter the license that you received in the confirmation e-mail for the purchase of the TWINT plug-in and click on “Activate”. You can also find the license in your account at mamedev.ch. If the activation is not successful, you can check in the “Logs” tab whether the request was blocked by our server. In this case, please contact us using the contact form.
- Store UUID field: The store UUID of the store in the TWINT portal with which you want to link the online shop must be entered here. You can find the Store UUID by clicking on the respective store under “Settings”.
- Certificate password field: The certificate password is set in the TWINT portal when the certificate is created. This usually happens in the last step when adding a new store. The certificate password is not the password for the TWINT account. If you have forgotten your password, you can contact TWINT to set a new password.
- Cash register ID field: Enter any alphanumeric value to identify this shop at TWINT. If several shops are linked to one TWINT account, the Cash register IDs must be different.
- Then click on “Save changes”.
- Upload the p12 certificate that you downloaded from the TWINT portal using the Certificate field. You can download the certificate from the TWINT portal under “Settings”.
- Check if a green message appears in the lower left corner after uploading the certificate.
- Click on “Enroll” in the field “Enroll cash register”. This step must be carried out at least once. If a green message then appears, the setup is finished.
- After successful enrollment, the payment method can be activated under “WooCommerce > Payments”.
2.2 Basic settings
Log in to your WordPress admin panel and go to “WooCommerce -> Settings -> TWINT”.
The following tabs will be displayed at the top of the page:
- General: Settings to connect the shop to TWINT and advanced settings (see below).
- System status: Information about server, license, TWINT certificate.
- PHP information: The complete information about the PHP configuration will be output on this page.
- Logs: All logs related to the TWINT-Plugin.
2.2.1 Tab: General
2.2.1.1 General Settings
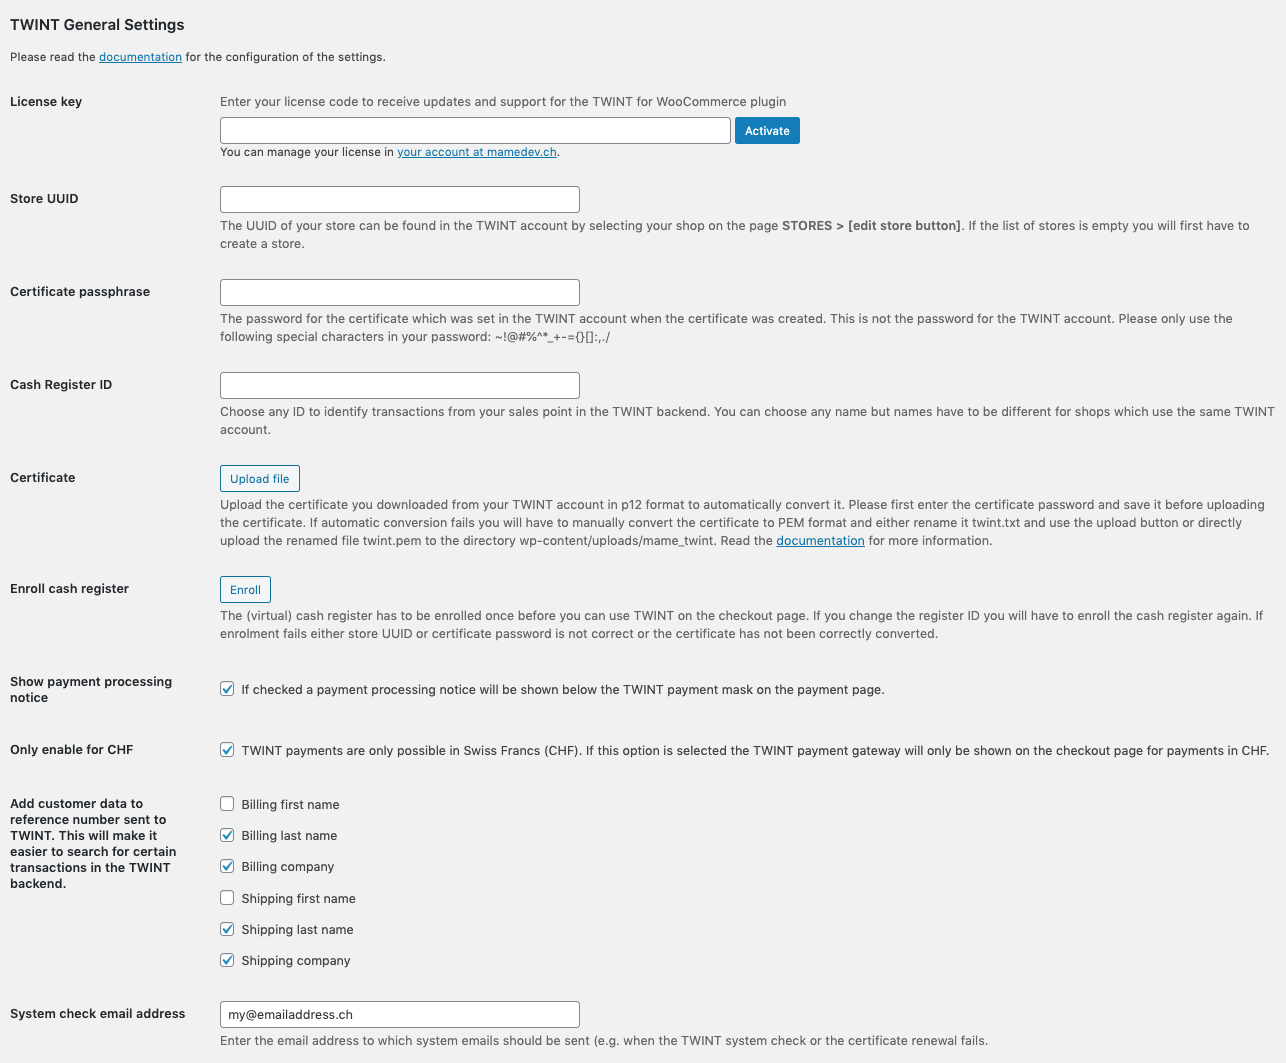
License key
Enter the license key you received when you ordered the plugin and click Activate. If the activation is successful a message will be displayed.
Store UUID
This is the UUID of your shop in the TWINT portal. For more information visit 1. Settings in TWINT Portal.
Certificate passphrase
The certificate passphrase you defined during the certificate creation in the TWINT portal. This is not the password for the TWINT portal. If you forgot your password please contact TWINT (support@twint.ch) to create a new certificate and password.
Cash Register ID
You can define any ID for your register. When using multiple shop with the same TWINT account the IDs of the registers must not be identical.
Certificate
Here you can upload the original .p12 file downloaded from TWINT. It will then be converted into the correct format if openssl is active on your server. Alternatively you can upload the certificate in already converted PEM format by changing the suffix from .pem to .txt. For more information visit 1. Settings in TWINT Portal.
Enroll cash register
After making the settings above you will have to enroll your cash register once. Please save the settings before enrolling the register. If the enrollment is successful a message will be displayed. When the cash register ID is changed the cash register has to be enrolled again.
Show payment processing notice
If checked a “payment pending” notice will be shown on the payment page together with a loading icon.
Only enable for CHF
TWINT only accepts payments in CHF. Enable this checkbox to hide TWINT on the checkout for all other currencies.
Add customer data to reference number
Here you can select if you want to append certain WooCommerce customer data to the reference number that is sent to TWINT when a payment is done. This makes it easier to search for payments in the TWINT portal.
E.g. if you select the checkbox Billing last name you can enter the customer’s last name in the field Merchant transaction ID in the TWINT portal on the page Transactions.
The reference number has a maximum length of 50 characters so it may be that only part of the name is included if too much data is appended.
System check email address
Enter an email address where emails are sent to if there is a problem with TWINT, for example if the system check or the certificate renewal fails (see below).
2.2.1.1 Advanced Settings
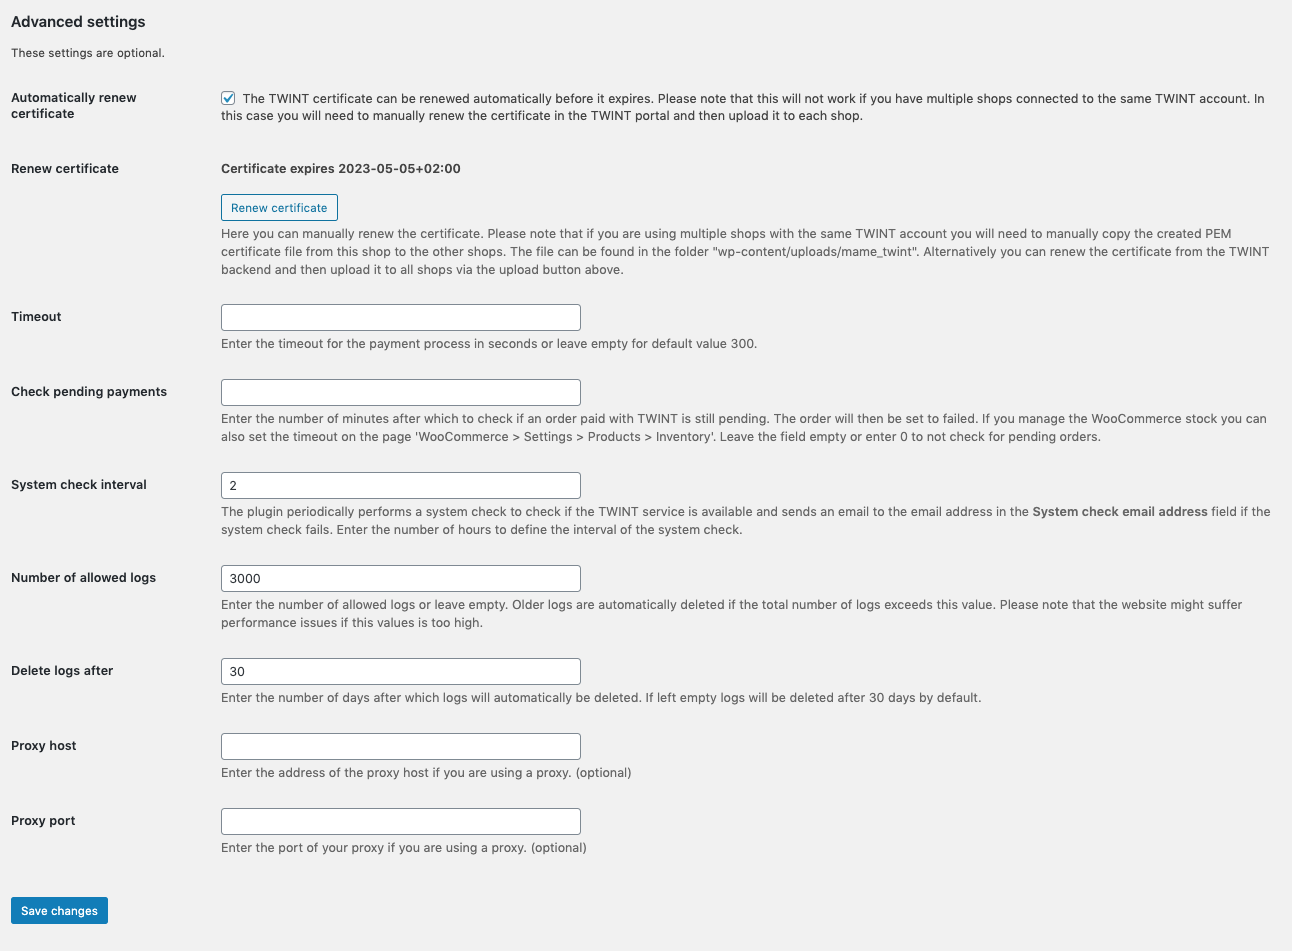
Automatically renew certificate
The certificate must be uploaded / converted manually at the beginning. Then it can be automatically renewed by the plugin. If several shops are linked to the same TWINT account, the option should be deactivated and the certificate should instead be manually renewed in the TWINT portal before it expires. Before the certificate expires, the plugin sends an email.
Renew certificate
The TWINT certificate can be renewed from the plugin using the button. The renewal fails if the certificate is still valid for more than 60 days.
Timeout
Here you can change the default timeout of 300 seconds for the payment process.
Check pending payments
The plugin keeps the order status on payment pending when payments fail. Here you can set a time period after which payments are checked and orders are set to failed if the payment is still unpaid.
System check interval
Here you can specify how often a system check should be carried out (in hours). The system check is carried out automatically by the plugin by registering the virtual cash register and sending an e-mail to the address in the “System check email address” field if the registration fails.
Number of allowed logs
The maximum permitted number of TWINT logs can be entered here. As soon as this number is exceeded, older logs are automatically deleted. Too high a value can lead to performance problems.
Delete logs after
Here you can define after how many days TWINT logs will be automatically deleted. The default is 30.
Proxy host
Enter the address of your proxy host if you are using one.
Proxyport
Enter the port of your proxy host If you are using one.
2.2.2 Tab: System status
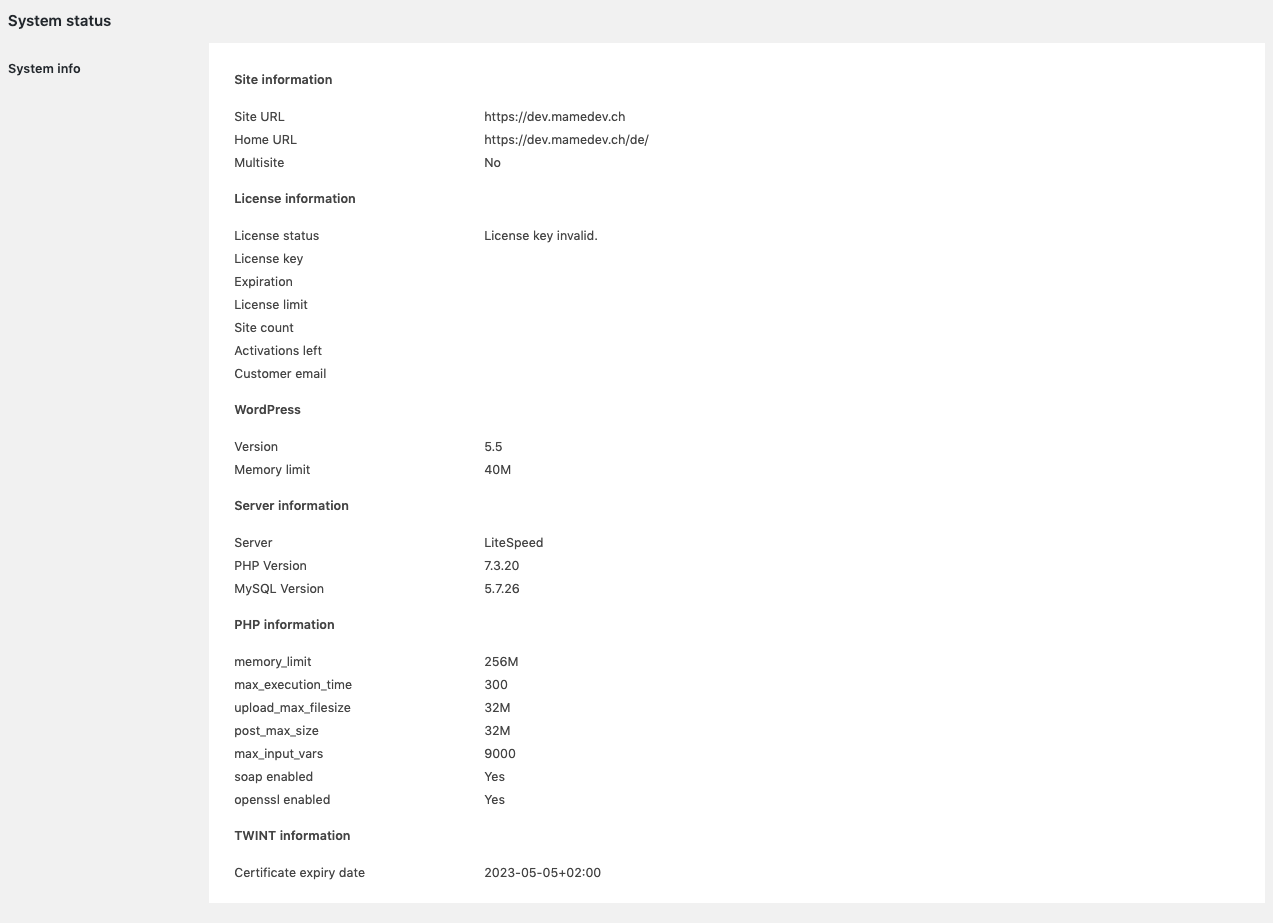
Important information about the server, the license key and the TWINT certificate.
2.2.3 Tab: Logs
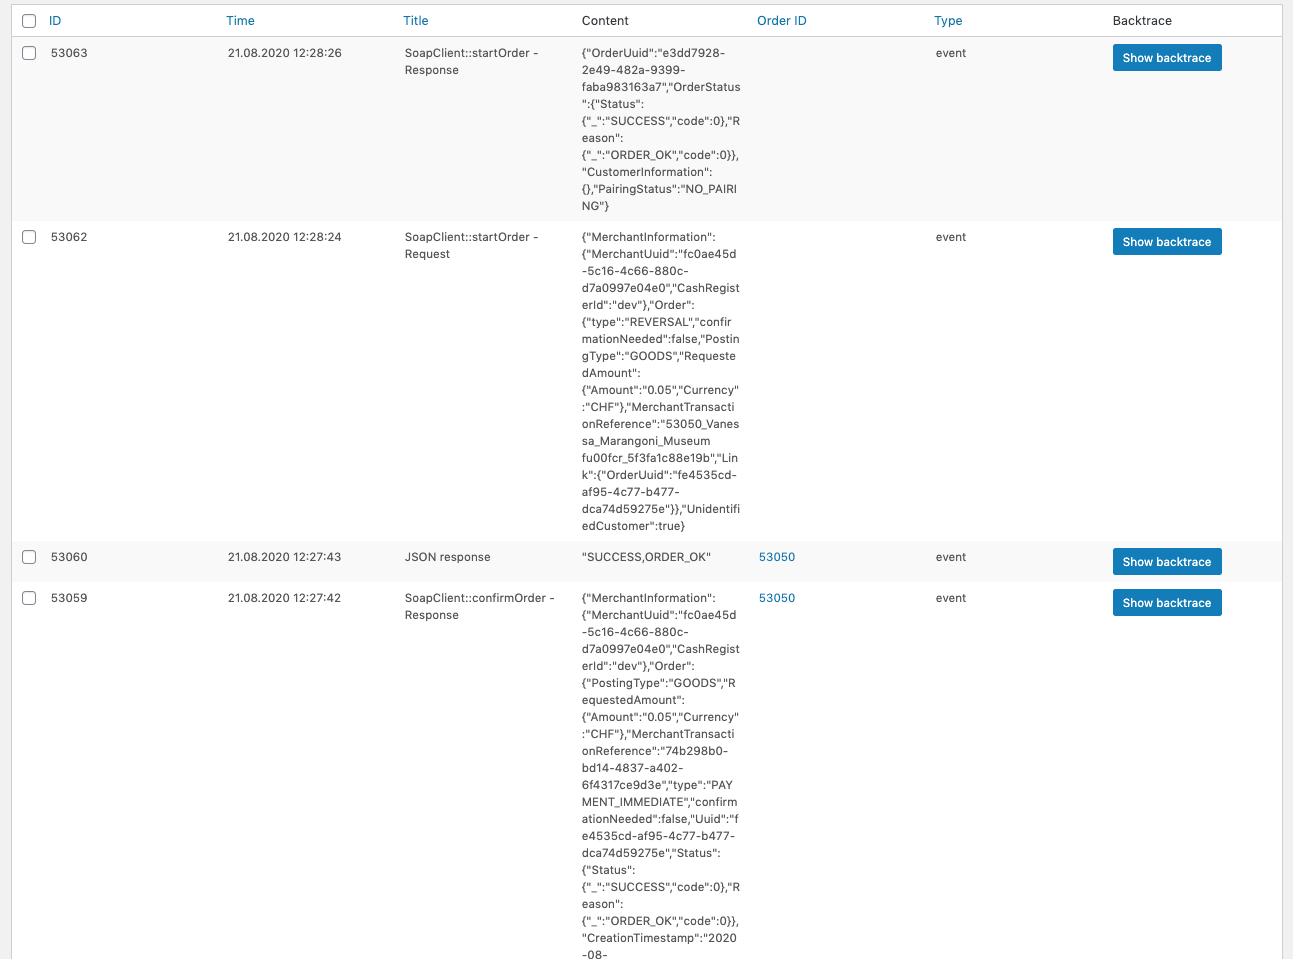
All logs in connection with TWINT are listed here. If the logs belong to a WooCommerce order, the corresponding order ID is displayed. Under “Type” you can see whether it is a general event or an error. For debugging purposes, the call stack can be displayed by clicking on “Show backtrace”.
2.3 Payment gateway settings
Go to “WooCommerce -> Settings -> Checkout -> TWINT”.
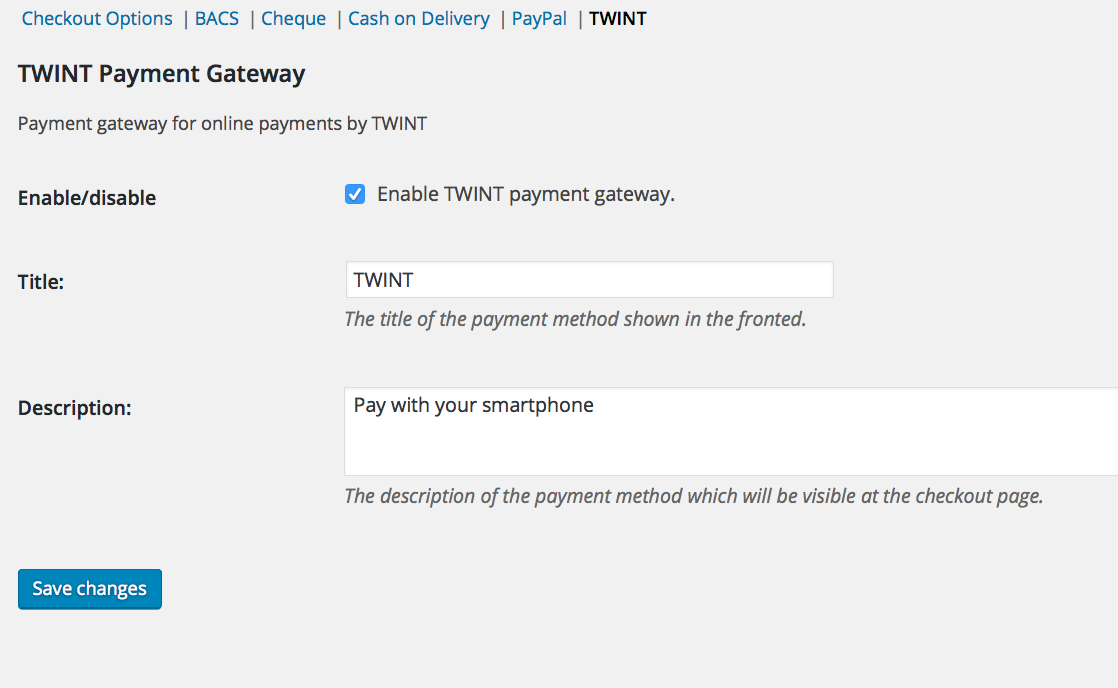
Enable/disable
You have to enable the payment gateway to make it visible on the checkout page.
Title
The title of the payment method on the checkout page.
Description
The description of the payment method on the checkout page.